Automatically add subtitles to your videos, and translate automatically to foreign languages, in just minutes.
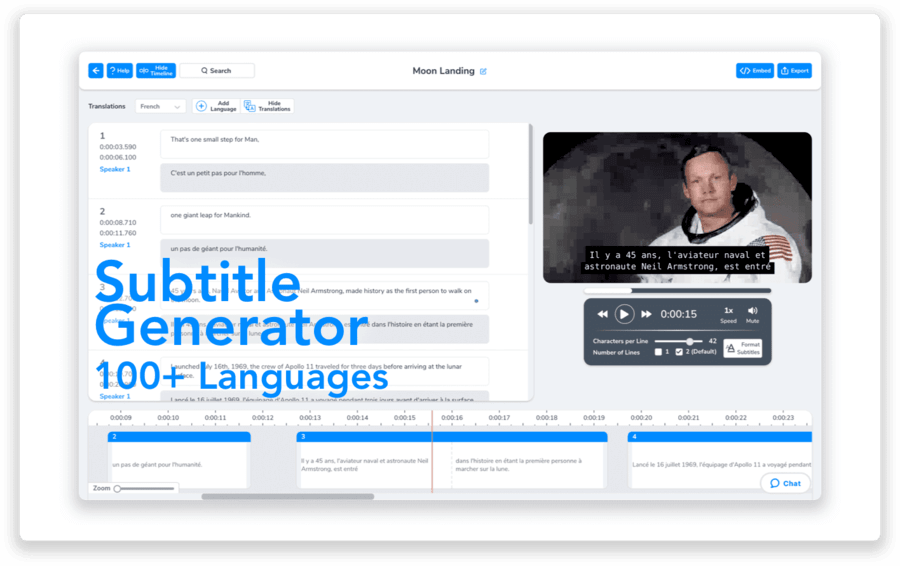
The world is connected today more than ever, so shouldn’t you be able to share your content with all parts of it? Stop missing out on revenue opportunities abroad! With Maestra Captioning Software you can now subtitle your videos automatically into foreign languages, and share your message across the globe.
Here’s how you can easily reach more viewers:
Signing up for Maestra
First, sign up for Maestra to add subtitles to videos and create a free online account. After you’ve set up your account (by entering your email and creating a password, or logging in through Google), click on “Subtitle” on the sidebar to navigate to the subtitle and caption page.
Click on "Subtitle" on the sidebar to navigate to the captioning page.
Uploading and translating your audio & video file:
Click “+ New Subtitle” on the top right corner to begin the process of creating a new caption.

Then either drop files into the box, or click “browse file” to look through your files and to select a video.

Select your file’s original audio language. You’ll select the foreign languages you’d like to translate your subtitles into after your file has been captioned.
You can use the “custom dictionary” feature to add commonly mis-transcribed words.
Click “Submit” to continue.

Viewing your file and adding languages.
Once the file is finished loading, click on your file to view your automatically generated captions!

You now have your video captioned in English!
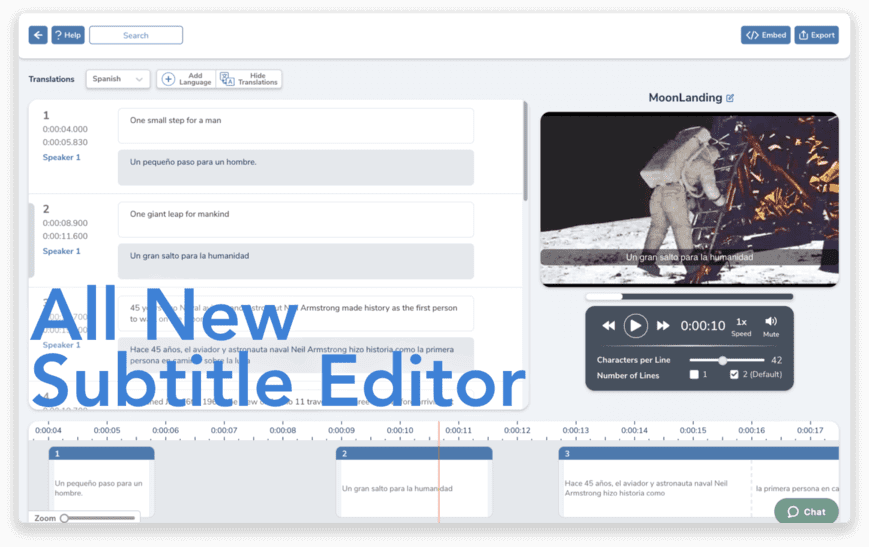
To add a new language that you’d like to translate your video or audio file to, click “Add Language” towards the top left of the screen, then choose almost any language on the planet!

Toggle between languages by clicking on the languages dropdown to select the languages you’ve previously added:

Editing Foreign languages:
When you edit a foreign language directly, you’ll see a lock icon appear. This means that if you decide to edit or change the original language, the foreign language won’t be changed as well.
Click on the lock icon to unlock it, and allow the edited foreign language to be changed.

Editing your file:
You can edit the timestamps on your file by dragging the text boxes on the timeline on the bottom of the screen. You can also manually enter the start/stop times for each sentence.

To separate text’s in the text box, press “Enter” where you’d like to separate the lines.
Additionally, you can hover over the text bar on the bottom of the page, then press “edit,” to manually drag the words to the next text box.

Press the up/down arrows to create one or two lines, and the left/right arrows to move the word to the next box:

To add multiple speakers, click on the speaker to select the correct speaker or add more speakers.

You can delete, add, or merge sentences by pressing the “X,” “+,” and “ →|←” key to merge sentences.
Choose the characters per line, and the number of lines that will appear on the caption in the settings box under the video.

Click “Format Subtitles” to decide how you’d like your subtitles to be viewed.
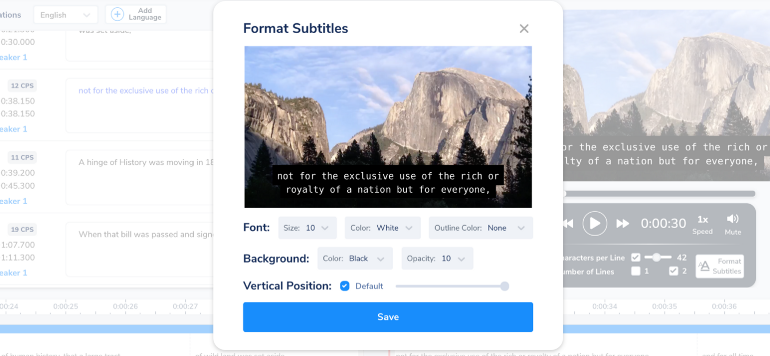
Exporting your video & audio files:
After you’ve edited your captions and subtitles, you can export your file in multiple formats, or embed your video directly onto your website.
Click the “Export” button, then select the desired format. Export as video (.MP4 format), subtitle (.SRT or .VTT), or transcript (.PDF or .TXT).

Additionally you can embed your video’s directly onto your website by clicking the “Embed” button:
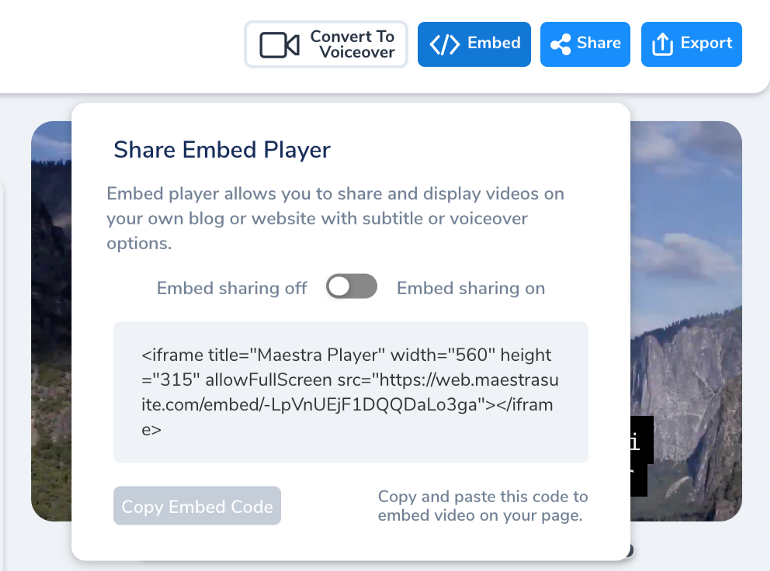
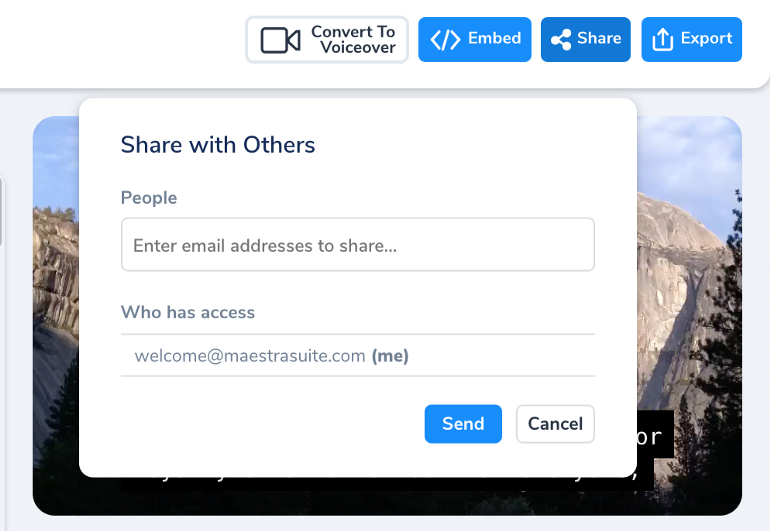
You can also allow others to edit the same file by clicking “Share.”
