How to Create Microlearning Videos Like a Pro (with 5 Examples)

We’ve all been saved by that “Indian guy on YouTube” and their microlearning videos at least once in our lives. It is a great way to quickly grasp new concepts, solve problems, and gain practical knowledge. For creators, these videos are a valuable opportunity to showcase their expertise and deliver impactful content in a compact, accessible way.
In this blog, we will:
- Explain what microlearning videos are and their benefits
- Compare microlearning with traditional learning
- Guide you on how to create microlearning videos step-by-step
- Share 5 examples of great microlearning videos for inspiration
Let’s get started.
What are microlearning videos?
Microlearning videos are short, compact video clips that aim to deliver specific information or skills in an engaging way. They typically last from 30 seconds to 5 minutes, ideal in today’s world where attention spans are getting shorter.

The popularity of microlearning videos spans across various industries and audiences:
- Corporate training programs utilize these bite-sized videos to transfer essential knowledge and skills to employees.
- Educational institutions and content creators adopt microlearning to break down complex topics and provide learners with easily digestible content.
- Individuals seeking to acquire new hobbies or develop their skills can benefit from the variety and convenience of these videos.
Microlearning videos offer a range of advantages for both their creators and audiences. For content creators, this format is cost-effective and easily shareable across multiple platforms. It can cater to specific audience segments and their unique needs. Learners can enjoy the flexibility of learning at their own pace, which can improve their knowledge retention.
Microlearning vs. Traditional Learning
To understand why microlearning is important, let’s take a look at how it differs from traditional learning.
| Feature | Microlearning | Traditional Learning |
|---|---|---|
| Length | Short (seconds or minutes) | Long (hours or days) |
| Focus | Specific skills or knowledge | Broad topics |
| Delivery | Short videos, online modules | Lectures, in-person classes |
| Suitability | Highly suitable for busy schedules | Less suitable for busy schedules |
| Flexibility | High flexibility; on-demand access | Less flexible; scheduled classes |
| Assessments | Typically includes quick assessments | Often includes longer exams or assignments |
| Costs | Generally lower production costs | Often higher production costs |
How to Create Microlearning Videos in 9 Steps
With the following steps on how to create effective microlearning videos, you can craft short-form content that provides value to your audience and makes their lives easier.
Identify Your Audience and Learning Objective
- Understand the age, job roles, and industry of your audience to tailor your video accordingly.
- Define what you want your audience to know or be able to do after watching your video.
- Consider your audience’s learning style (visual, auditory, kinesthetic, etc.) to enhance engagement and effectiveness.
Select a Video Format
- Choose between formats like screencasts, animated videos, talking head videos, or a combination to best suit your audience and content.
- Decide if your video will include interactive features like quizzes or other clickable elements to reinforce the learning experience.
- Make sure the format is consistent with your overall brand identity and style.

Write Your Video Script
- Structure your content logically by having a clear beginning, middle and end.
- Focus on key points and avoid technical, overly complex jargon that might confuse your audience.
- Leverage AI tools, which can help you generate an engaging and concise script that aligns with your learning objectives.
Incorporate Visuals
- Use visuals like illustrations, infographics and on-screen text to reinforce key points and explain complex concepts. (If you're using an AI video generator, you can either select a template from its options or quickly create a video based on your script.)
- Have a consistent color palette and design elements throughout the video for a professional look.
- Include features like high-contrast or large fonts to make crucial information stand out.
Add Voiceover and Subtitles
- Record your own voice clearly or utilize text-to-speech technology to generate the audio.
- Add AI-generated subtitles to improve accessibility for deaf and hard of hearing individuals, as well as for those who watch your video in noisy environments or without sound.
- Adjust the voiceover tone to the video’s style and ensure subtitles are synchronized with the audio.
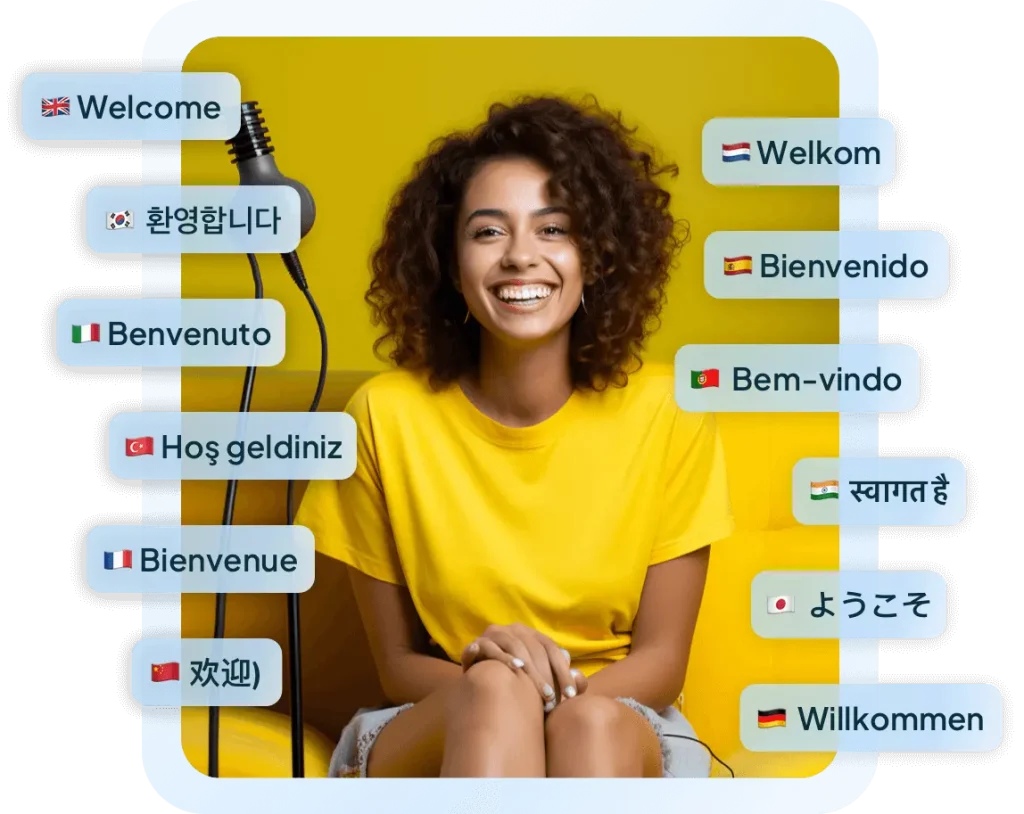
Bonus tip: You can also translate your voiceover to 125+ languages with Maestra’s AI voice cloning feature. By speaking in your own voice in different languages, you can localize microlearning videos for multiple audiences, communicate without borders, and maintain continuity in your content.

Choose Background Music and Sound Effects
- Select background music that complements the mood and enhances the message of your video.
- Adjust volume levels so the background music does not overpower the voiceover.
- Make sure you have the rights to use the music and sound effects you choose.
Edit and Finalize
- Trim unnecessary content to keep the video focused and concise.
- Create seamless transitions between scenes by employing consistent visual effects that maintain flow and coherence.
- Review the video carefully and check for errors, inconsistencies, and pacing issues.

Upload and Distribute
- Optimize video metadata by using relevant keywords to improve discoverability.
- Design an eye-catching thumbnail to attract viewers.
- Promote your video by sharing it on social media, your website, and email newsletters.
Optimize Based on Data
- Track and analyze key metrics such as views, watch time, completion rates, engagement, and click-through rates.
- Review viewer feedback and comments to understand their reactions and spot any specific points of interest or concern.
- Use the data to identify areas for improvement and optimize your future microlearning videos accordingly.
5 Great Microlearning Video Examples
Before concluding our blog, let’s check 5 powerful microlearning video examples from different fields that can inspire you to create your own.
Personal Finance
Bank of America’s microlearning video titled “How to Set a Budget and Stick to It” lists 6 actionable steps under 4 minutes. It also illustrates them in a simple yet engaging way with whiteboard animations.
Mental Health and Wellbeing
This microlearning video by Child Mind Institute shares expert advice on how to manage social anxiety. A calming voiceover and an easily readable on-screen text with soothing colors makes this video a success.
Artificial Intelligence
Simpletivity’s video on “How to use Gemini AI with Google Workspace” can improve your AI experience thanks to the clear demonstration of the process. Utilizing screen recording, this microlearning video also incorporates subtitles and a bold yellow cursor to guide viewers.
Career Development
This video titled “How to Get an Apprenticeship at J.P. Morgan” can help you land the position at the global firm. With valuable tips from an experienced apprentice, live action footage, and a “Subscribe” CTA at the end, the video is perfectly tailored to its target audience.
Language Learning
Blabber Beasts’ microlearning video “Greetings in French” blends on-brand animations with on-screen text seamlessly. Moreover, the background music is so French, and is perfectly balanced with the voiceover.
Frequently Asked Questions
What is the difference between e-learning and microlearning?
Is microlearning really effective?
What is microlearning on YouTube?
How do you make instructional microlearning videos interesting?
Why is microlearning important for corporate learners?
Summary
This blog shared actionable tips on how to create microlearning videos in 9 steps. It also highlighted the difference between microlearning and traditional learning, and listed 5 successful microlearning video examples from different areas of interest.
Let’s recap the best practices you can adopt when crafting a microlearning video:
- Tailor your video to the specific needs and learning styles of your target audience.
- Keep it concise with a well-structured script that organizes content logically.
- Match the visuals in your video (including color palettes and design elements) to your overall brand identity for a cohesive and professional look.
- Make sure the voiceover is clear and appropriately toned for your video, and don’t forget to add subtitles to improve the accessibility of your content.
- Select background music that complements the mood of your video, and carefully balance the volume so it does not overpower the voiceover.
By embracing these tips, you can drive viewers in with compelling microlearning videos, grow your audience, and make their lives easier.
