Closed Captions vs Subtitles: Main Differences & Use Cases
The terms “captions” and “subtitles” are often used interchangeably to describe on-screen text in videos, but they serve different purposes and audiences.
While many may overlook the distinctions that distinguish closed captions vs subtitles, video creators should understand them to reach broader audiences effectively. Knowing when and how to use each, with the right software, can help you expand your viewer base and connect globally.
In summary:
- Subtitles = Language assistance, focusing on spoken dialogue.
- Captions = Full audio representation, essential for accessibility.
What Are Subtitles?
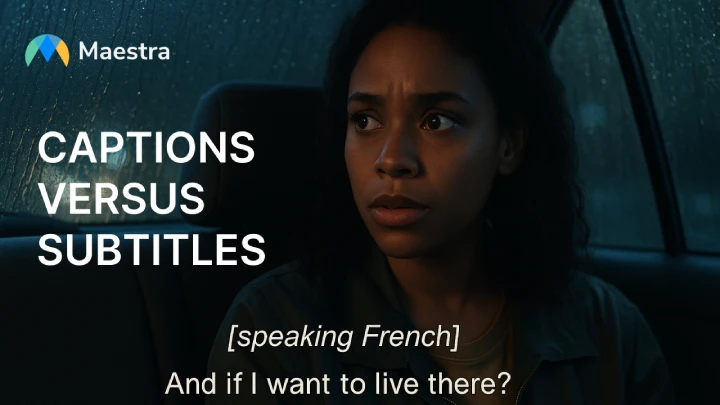
Subtitles are text overlays displayed on a video that translate or transcribe the spoken dialogue. They aim to help viewers understand the content, especially if it’s in a different language. Subtitles usually only cover the spoken dialogue, without including non-speech elements like music or sound effects.
What Are Captions?

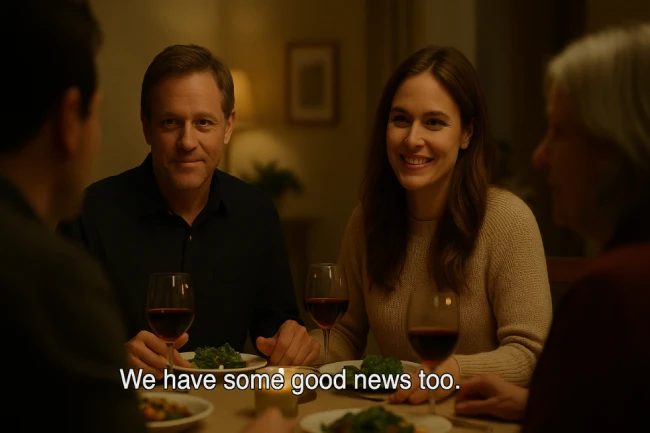
Captions are also text overlays but are more detailed than subtitles. They include not only spoken words but also describe non-verbal sounds, music cues, and speaker identification. Captions can be closed captions (allowing viewers to turn them on or off) or open captions(always visible on the screen), making them a vital accessibility tool for people who are deaf or hard of hearing.

Closed Captions vs Subtitles: What's the Difference?
Although captions and subtitles both appear as text overlaid on video content, they serve fundamentally different purposes and are tailored to distinct audiences. Understanding the nuances between them is key for content creators, educators, marketers, and accessibility advocates alike.
🧠 Core Differences at a Glance
| Feature | Captions | Subtitles |
| Purpose | Accessibility (for deaf/hard-of-hearing) | Language comprehension (translation/transcription) |
| Includes | Spoken words + non-speech sounds (e.g., [music], [laughter], [door slams]) | Only spoken dialogue |
| Speaker Labels | Yes | Rarely |
| Audio Assumption | Viewers cannot hear | Viewers can hear |
| Formats | Open captions (always on) or Closed captions (toggleable) | Usually closed, sometimes open |
| Primary Language Use | Same as audio | Different or same language depending on purpose |
Open Captions vs. Closed Captions
📚 Real-World Use Cases of Closed Captions and Subtitles
✅ When to Use Captions

Captions are vital when the goal is to replicate the full audio experience in text, particularly for users who are deaf, hard of hearing, or watching in muted environments.
Use Cases:
- Educational videos and e-learning platforms: Ensures ADA compliance and caters to diverse learners
- Live broadcasts and streaming platforms: Provides real-time captions for sports, news, and events
- Corporate internal training: Helps employees in noisy environments or with hearing impairments
- Social media content: Many users watch with sound off (e.g., LinkedIn, Facebook autoplay)
Example: A university uploads a recorded lecture to its learning management system. Closed captions help students with hearing disabilities and also assist in noisy dorms or public transport.
Create Captions
✅ When to Use Subtitles
Subtitles are primarily used when the audience can hear but does not understand the language being spoken. They are essential for bridging language gaps.
Use Cases:
- Foreign films and international TV series: Translates original spoken language into the viewer's native language
- YouTube and TikTok creators: Reach multilingual audiences without re-recording audio
- Product marketing videos for global audiences: Maintain original narration while making content comprehensible across regions
- Online courses: Support non-native speakers in understanding complex subject matter
Example: A French film is distributed globally with English subtitles so English-speaking viewers can follow the dialogue without dubbing.
Auto Generate Subtitles
🏭 Industry Preferences
Different industries lean toward either captions or subtitles depending on their core goals—accessibility vs. localization.
🎓 Education
- Prefers: Captions
- Why: Ensures accessibility for all students (per legal requirements like ADA), including real-time captions for live classes and webinars.
📺 Entertainment & Media
- Prefers: Both, depending on content
- Why: Streaming services like Netflix provide subtitles for multilingual access and captions for accessibility. Some even offer SDH (Subtitles for the Deaf and Hard-of-Hearing) which combine both.
🏢 Corporate & Enterprise
- Prefers: Captions
- Why: Internal training videos and corporate communications must be inclusive, especially for global teams and employees with hearing impairments.
🌍 Marketing & Content Creation
- Prefers: Subtitles
- Why: Helps extend reach on platforms like YouTube, Instagram, and TikTok. Subtitles improve retention and shareability, especially in sound-off viewing environments.
🧑⚖️ Government & Compliance-Driven Fields
- Prefers: Captions
- Why: Legal mandates like the ADA and WCAG require accessible content, particularly for public information.
💡 Pro Tip: Use Both When Possible
To maximize inclusivity and reach, consider offering both:
- Subtitles in multiple languages to cater to global viewers
- Closed captions to meet accessibility standards
Platforms like Maestra AI lets you generate subtitles and captions both from a single upload, making it easier than ever to serve a diverse audience.
🗂 Subtitle and Caption Formats: Types, Uses & Preferences
When adding captions or subtitles to your video content, choosing the right file format is just as important as the text itself. Each format has its own features, compatibility, and ideal use cases.
Whether you're uploading to YouTube, editing a film, or integrating into broadcast systems, knowing which format to use ensures smooth delivery and accessibility.
🎞 Common Subtitle Formats
Subtitles focus primarily on spoken dialogue and are usually designed for language translation or transcription. Here's a breakdown of the most common subtitle file types:
| Format | Description | Preferred Use |
| .SRT (SubRip Subtitle) | The most widely supported format; includes start/end times and text. | Ideal for YouTube, Facebook, LinkedIn, and most social/video platforms. |
| .VTT (Web Video Text Tracks) | Similar to SRT but allows positioning, styling, and better HTML5 support. | Best for web-native players and modern websites. |
| .ASS (Advanced SubStation Alpha) | Supports advanced styling, fonts, colors, and positioning. | Used in anime fansubs, films, or when visual customization is needed. |
| .SSA (SubStation Alpha) | Predecessor to .ASS; includes basic formatting capabilities. | Still used for legacy software or stylized playback. |
| .SBV | Proprietary format used by YouTube’s subtitle editor. | For editing within YouTube Studio only. |
| .TXT | Plain text transcript without time codes. | Best for republishing as readable scripts, blog articles, or SEO transcripts |
Tip: For most general use cases like uploading to social platforms, .srt or .vtt will suffice. If you’re customizing how subtitles look (color, font, size), opt for .ass.
📺 Common Caption Formats
Captions contain more comprehensive audio information, such as sound effects, speaker IDs, and music cues. They’re critical for accessibility compliance and often required in professional or regulated contexts.
| Format | Description | Preferred Use |
| .SCC (Scenarist Closed Captions) | Broadcast-grade format supporting CEA-608/708 standards. | Used for TV, film, and FCC-compliant broadcasts. |
| .MCC (MacCaption) | High-definition version of SCC with extended features. | Preferred in HD broadcast environments. |
| .DFXP / .TTML (Timed Text Markup Language) | XML-based format for timed text and styling. | Used by Netflix, Amazon Prime, and other OTT services. |
| .STL (Spruce Subtitle File) | Used in DVD authoring tools; includes basic styling. | Ideal for localized DVD/Bluray production. |
| .XML | Custom caption format used by platforms like Adobe Premiere or Final Cut. | Best for editing in non-linear editing (NLE) environments. |
Note: Caption formats often need to meet regulatory accessibility standards, especially in education, government, and broadcast. Ensure you’re using formats like .scc or .mcc when working in these spaces.
Live Captions and Subtitles
Live captions and subtitles are real-time text representations of spoken language, typically generated during a live broadcast, video call, streaming event, webinar, or in-person conversation. Unlike pre-recorded captions, live captions are created on the fly, either by professional human stenographers or increasingly through automated speech recognition (ASR) systems powered by AI.
The main advantage of live captions is accessibility: they allow deaf or hard-of-hearing individuals to follow along with spoken content as it happens. They're also useful in noisy environments or when a speaker's accent or audio quality might make them hard to understand. Depending on the technology or service used, live captions can include speaker identification and sometimes even non-verbal sound cues like [laughter] or [applause].
While accuracy has improved significantly thanks to advancements in AI, live captions can still be prone to errors, especially with overlapping dialogue, poor audio input, or jargon-heavy content. That said, platforms like Zoom, Google Meet, YouTube Live, and Microsoft Teams now routinely offer built-in live captioning as a standard feature, helping make content more inclusive and user-friendly in real-time settings.
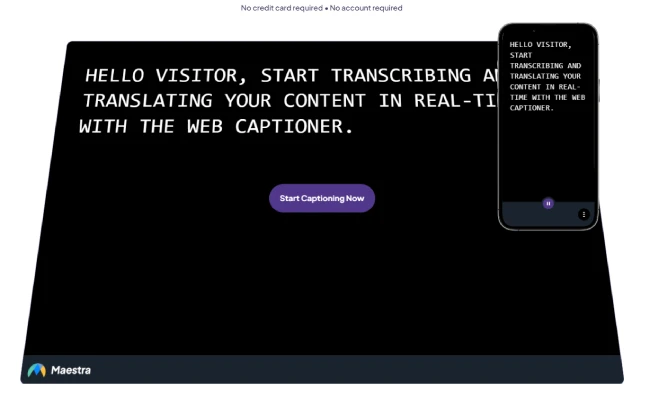
With an AI-powered platform like Maestra AI, you can generate live captions/subtitles and translate them in real-time, including live dubbing and voice cloning.
FAQs
Is closed caption the same as subtitles?
Closed captions (CC) and subtitles are similar in that both display text on screen, but they serve different purposes. Subtitles are primarily meant to translate spoken dialogue for viewers who do not understand the language being spoken, and usually assume the viewer can hear the audio. Closed captions, on the other hand, are designed for the deaf or hard-of-hearing community and include not just spoken dialogue, but also relevant non-verbal sounds like [door creaks], [laughter], or [music playing]to convey the full audio context. So while they may look alike, captions carry more auditory information.
Is CC better than subtitles?
Whether closed captions are better than subtitles depends on the viewer’s needs. For those who are deaf or hard of hearing, CC is superior because it includes comprehensive sound cues in addition to dialogue. For people watching in a noisy environment or a language they don't speak, subtitles might be more appropriate. CC provides more detail overall, but that doesn't necessarily make it better, it just makes it more informative. Some viewers might find the extra information distracting if they only care about the dialogue translation.
What is the difference between captions and subs?
Captions, especially closed captions, are intended for accessibility, they represent spoken words and meaningful sounds in a scene for those who cannot hear them. Subtitles, meanwhile, are typically designed to translate foreign-language dialogue into the viewer’s native language. They don’t include sound descriptions and often omit speaker IDs or overlapping dialogue information. In short, captions replicate all significant audio; subtitles mostly translate spoken language.
Why is it called a closed caption?
The term “closed” in “closed captions” refers to the fact that these captions can be turned on or off by the viewer. They are “closed” to the screen unless activated. This contrasts with “open captions,” which are permanently embedded into the video and cannot be disabled. The system originated with analog television, where a special decoder was needed to view the captions, hence the "closed" nature of the feature.
Why are subtitles called CC?
Subtitles themselves are not correctly called “CC,” but the confusion arises because both appear as text on the screen and are often grouped together under TV or streaming settings. In many interfaces, especially in the U.S., the term “CC” is used generically to refer to any form of on-screen text, even if it’s actually a subtitle. However, true CC includes more than just the spoken text, and using “CC” to refer to subtitles is technically incorrect but very common in everyday usage.
Are open captions just subtitles?
Open captions are similar in appearance to subtitles, but their function aligns more with closed captions. They’re permanently burned into the video and cannot be turned off, hence “open.” Like closed captions, they often include non-dialogue audio information such as sound effects or speaker identification. While subtitles can also be open (burned in), the key difference is not in whether it’s a caption or subtitle, but in whether it can be toggled on/off, open means always visible, regardless of content type.
All Subtitle Formats: Which to Use & Why
