How to Improve Video Voiceovers: 7 Voiceover Tips
One great way to improve your video content is to incorporate voiceovers. A voiceover is audio added on top of a video to elaborate on what the viewer is seeing. In other words, it explains what your audience is looking at. It is a way for your viewers to understand what they’re seeing. Plus, a high-quality voiceover recording is what separates your content from a random collection of videos. That’s why your video content needs voiceovers, but how do you make a good one? Here are 7 simple voiceover tips to bring your content to life!
1. Write a Script
First things first, it’s always best to have a plan before recording a voiceover. A script functions as the roadmap for any video or audio recording, but it’s especially important in voiceovers.
Scripts become critical because voiceovers must align with what the audience sees. If your video is about national park wildlife, you can’t just turn on the microphone and ramble about fish for three minutes while video clips of various animals play out. You have to plan out a narrative for three minutes, and then you’ll be able to inform your readers about what they see while they see it.

Writing a script also allows you to practice read-throughs, which lets you test out the timing of your voiceover before you start spending more time or money on recording.
In addition, reading a script aloud helps you to refine your word choice. If there’s an accidental rhyme or an awkward phrase, you can fix it in practice rather than doing live rewrites while recording.
2. Limit Background Noise
Having as little background noise as possible while recording helps the sound to come across clear and unmuddied. This is especially important when the voiceover is not the only audio playing.
For example, if you were voicing over a short video of a babbling brook, there might be two audio tracks playing concurrently in your video editor: the water noises accompanying you and the voice over recording.
The sound effects and background sounds help a reader to become immersed in the video. If there’s a third noise, like a roommate faintly calling ‘I’m home!’ in the background, then the reader will be pulled out of the video’s authenticity and distracted.
If you can’t record in a professional studio, make sure that you record in a quiet space uninterrupted. Noise-canceling equipment that’s designed to block out external noises is also an option. If you do get interrupted, it’s always better to pause and restart the part that was interrupted. Then, with recording software and an online video editor, you can combine audio recordings seamlessly.
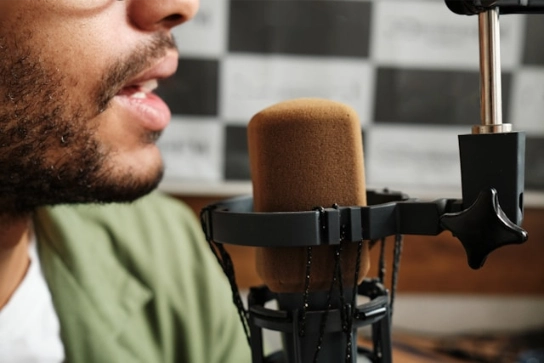
3. Choose the Right Equipment
If you’re ready to move beyond your laptop or cell phone microphone and toward a higher-quality sound, then it might be time to invest in an external microphone.
There are a variety of microphones available, so it’s important to look into what type of microphone would best serve your voiceover needs. Pay attention to having a consistentdistance between you and the microphone and don’t put the microphone directly in front of you to reduce unwanted popping and breathing sounds.
A condenser microphone would be the way to go if your voiceover recording usually takes place in a quiet environment. However, if you’re recording audio at a noisy event, like a concert, a dynamic microphone would cut out a lot of the background noise.
In addition to a microphone, you’ll want to invest in headphones to help you hear your recordings when you’re editing videos. You might also purchase a pop filter, which is a microphone attachment designed to prevent the crackling noises that often accompany strong ‘P’ and ‘B’ sounds while speaking.
4. Start with a Test Recording
Just like reading aloud a script will help you save time once you start recording, listening to a test recording will help you save time once you start editing or generating a transcript.
Once you’re in your recording space, make sure that your microphone is set up the way you want it, your script is ready, and there won’t be any interruptions. Don’t forget to press record!
Record the first few seconds of your voiceover audio at a comfortable volume, then play it back. It’s better to spot any problems at this stage rather than listening to a twenty-minute take and realizing that your fan is rattling noisily in the background.
Listen to your test recording to check for audio quality and to make sure that there are no issues with your equipment or technology before you dive into the work of recording a quality voiceover.
It’s also important to listen to the quality of your voice. Voiceover is what adds a personal touch to your video, so remember that each word you speak is being spoken to an individual listener. Keep your tone and emotion in line with your video's purpose to have the maximum impact on your listeners.
5. Adjust Your Tone and Pace
Monotonous voices won’t keep your listeners engaged; therefore, make sure that you have an engaging tone for your audience. To be able to do this, first, you need to understand your target audience. Then record multiple variations of the same lines and experiment with different emotions. This will help you find the best version, but keep in mind that your tone should match the tone of the script.
The pace of your voiceovers is an important factor affecting your video content’s success. Speaking slowly can bore your listeners while speaking too fast might also be difficult for them to follow along and understand what you are talking about. Test recordings can help you find a pace that feels natural.
Bonus Tip: Work on Your Breathing Technique and Pronunciation
Breathing is a fundamental part of your delivery, allowing you to keep a consistent pace and tone. Make sure to use your diaphragm to breathe and adjust the timing of your breaths accordingly.
Having clear pronunciation is crucial for your audience to understand your every word. Tongue twisters can be a fun and useful way of improving your pronunciation.
6. Leverage AI Tools
Did you know that you can skip multiple steps and generate voiceovers without the hassle by using AI? Maestra’s video dubber can add a realistic voice over for videos with the click of a few buttons.
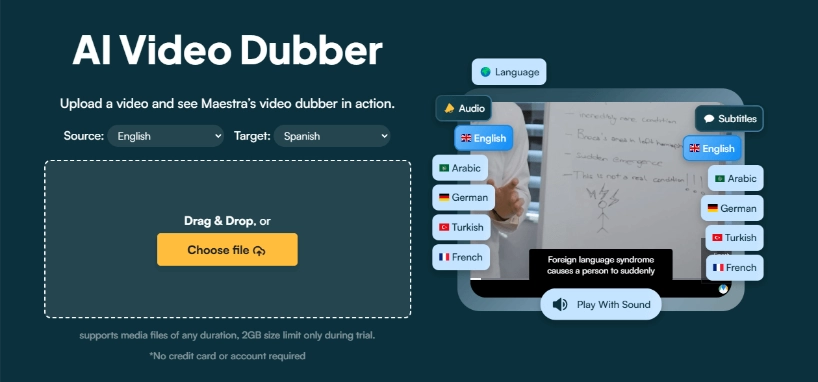
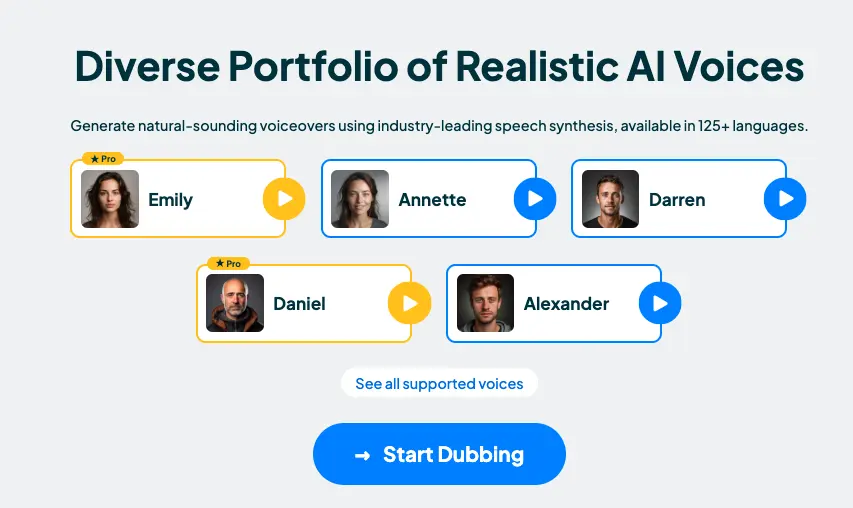
All you need to do is upload the video file to Maestra and choose the AI voice you want to have in your video. Maestra offers a huge voice library for its users and allows them to adjust the tone and emotion of the speaker.
You can also choose to clone the voice in your original file and have an extremely high-quality voiceover without any of the expensive equipment or time-consuming steps.
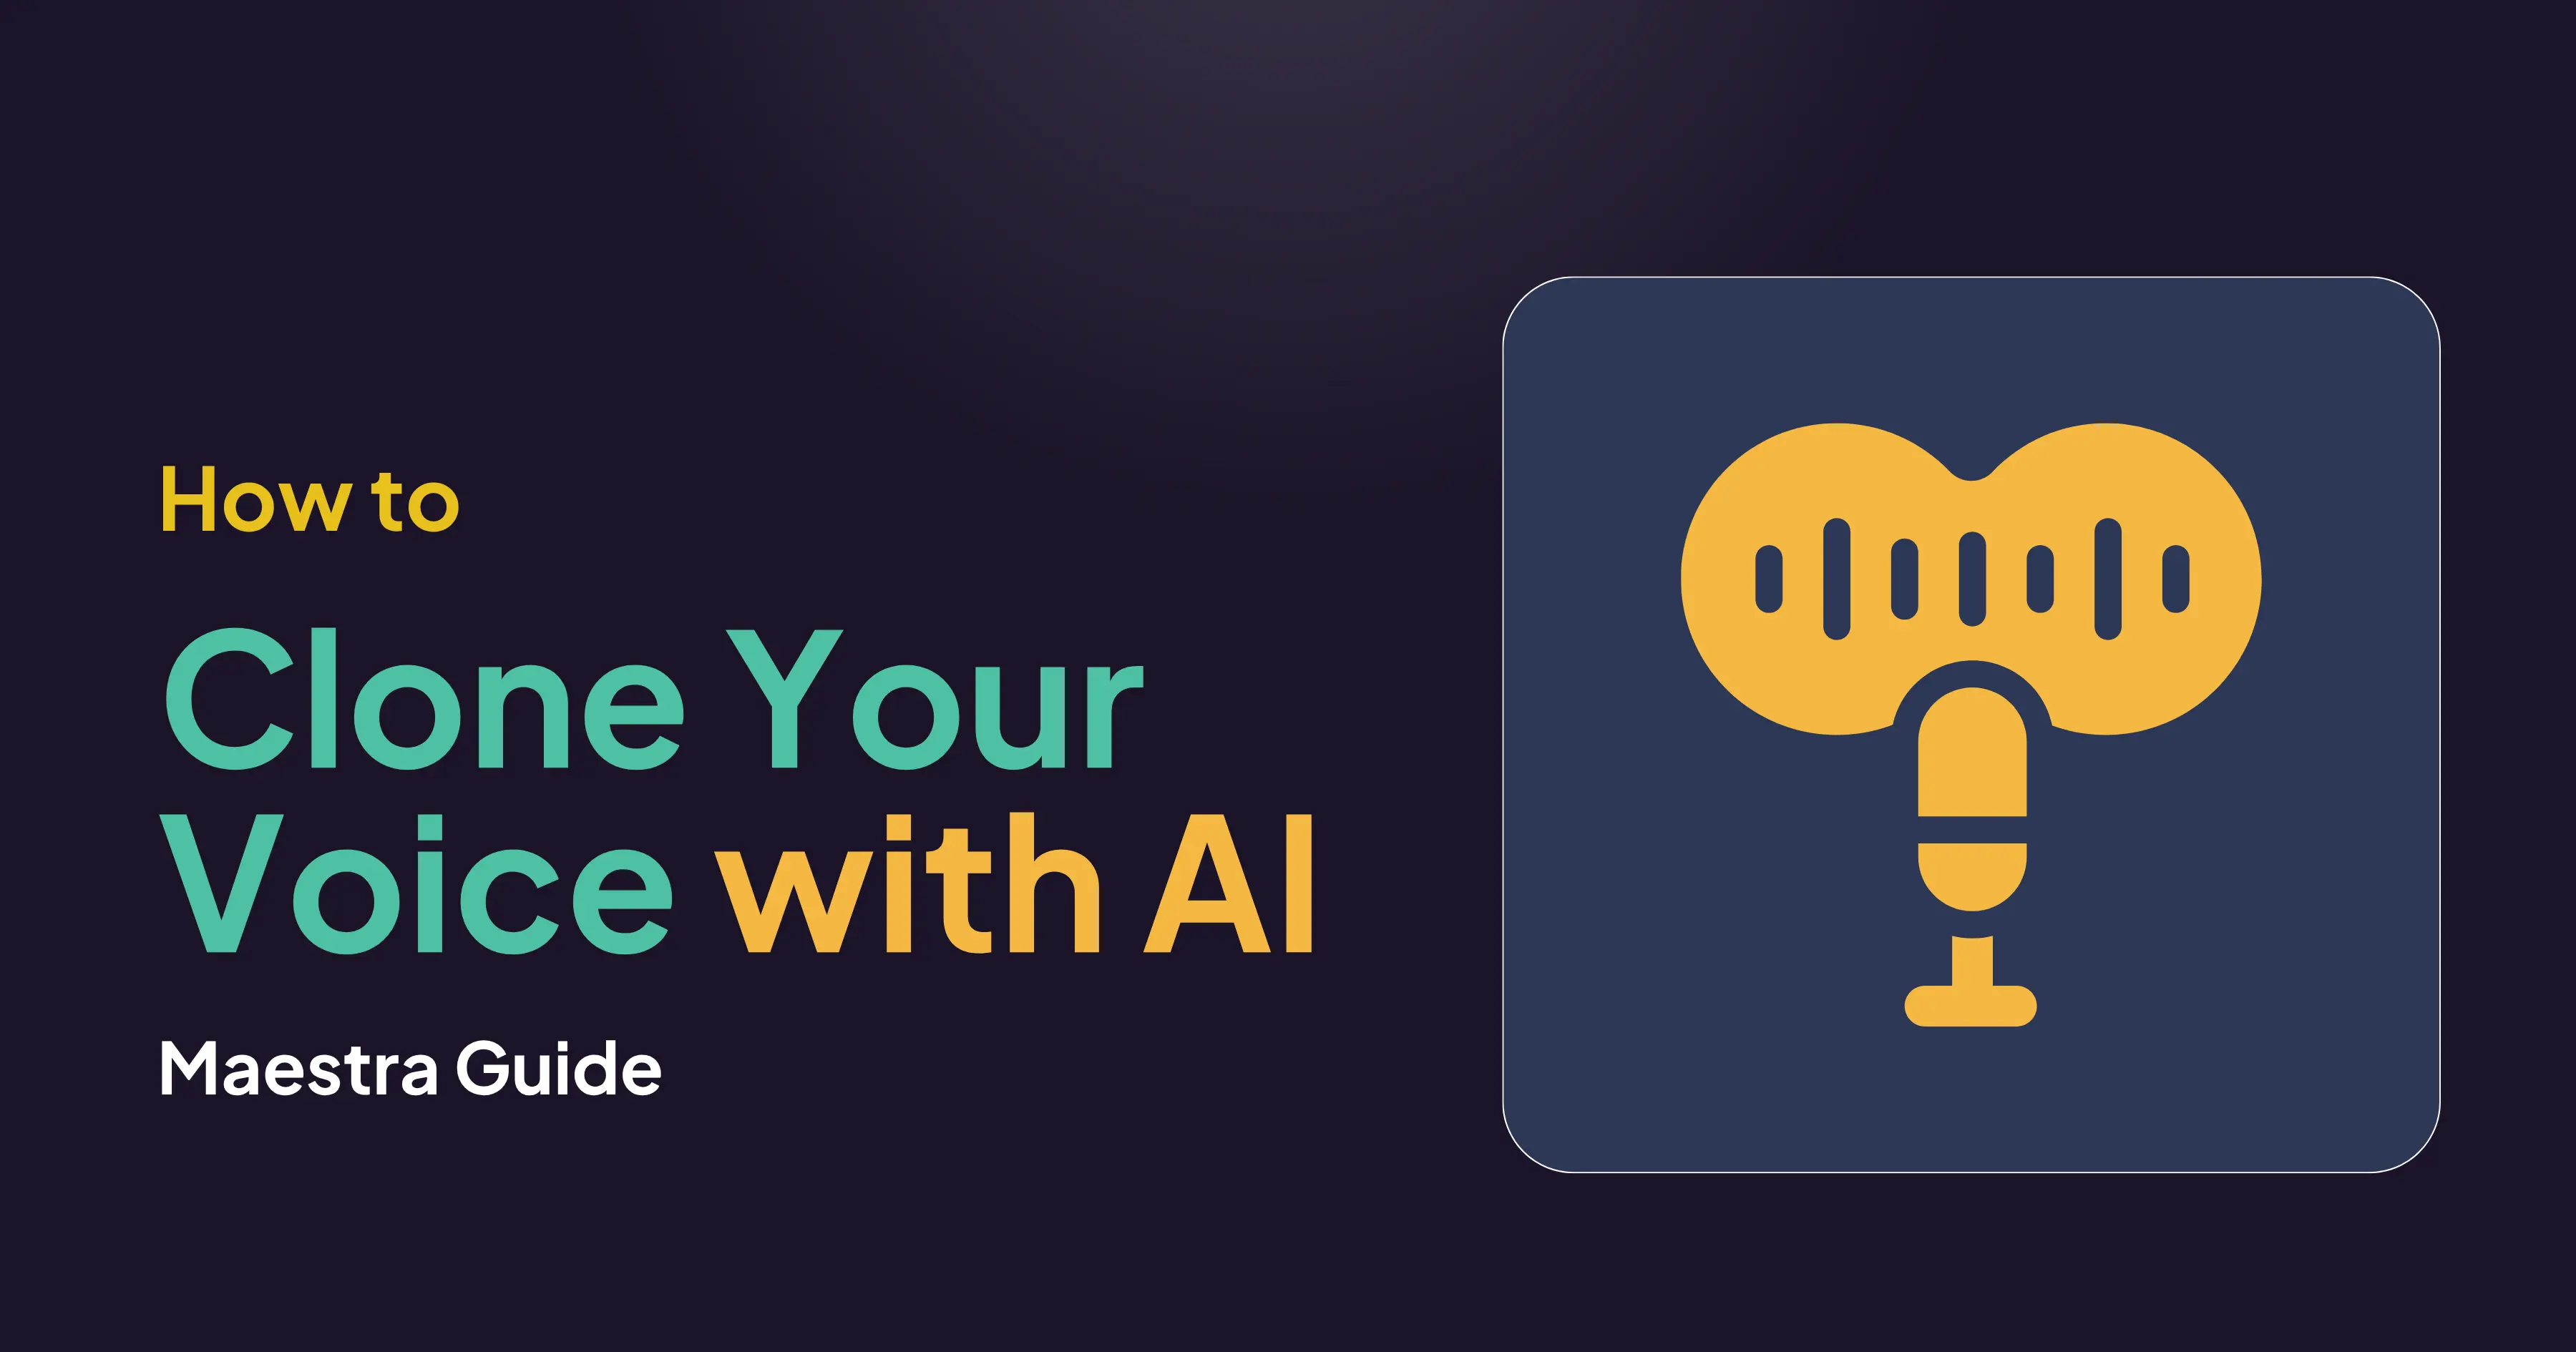
How to Clone Your Voice with AI in 8 Steps
7. Add Voiceovers in Multiple Languages
One guaranteed way to improve your video voiceover is to make sure that your audience can understand it. That’s where multilingual voiceovers come in. In order to reach and connect with a wider audience, you can make your video available in a variety of languages instead of just the ones you’re most familiar with.
You can hire a translator and a professional voice actor to provide more language options for your voiceover, but those services are expensive and can quickly add up. Or, you can upload your audio file to an automated voiceover service like Maestra and generate voiceovers in any language within seconds.
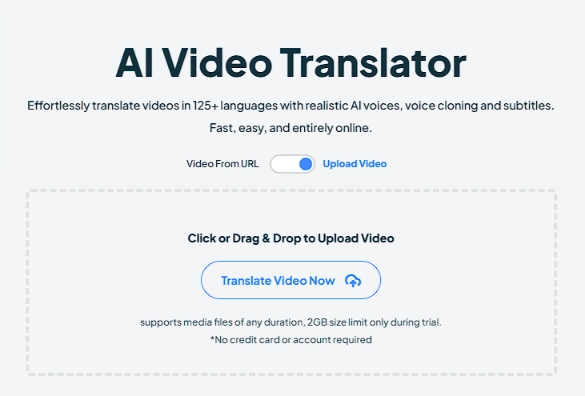
Maestra supports 125+ languages and allows you to dub your videos effortlessly. It doesn’t only contain more linguistic variety than most voice actors available, but it is also more affordable.
The cutting-edge AI technology used by Maestra offers a highly accurate transcript generator to translate your voiceover into another language. You can select from the diverse library of AI voices or clone your own voice, and your voiceovers will be complete in a matter of minutes instead of weeks.
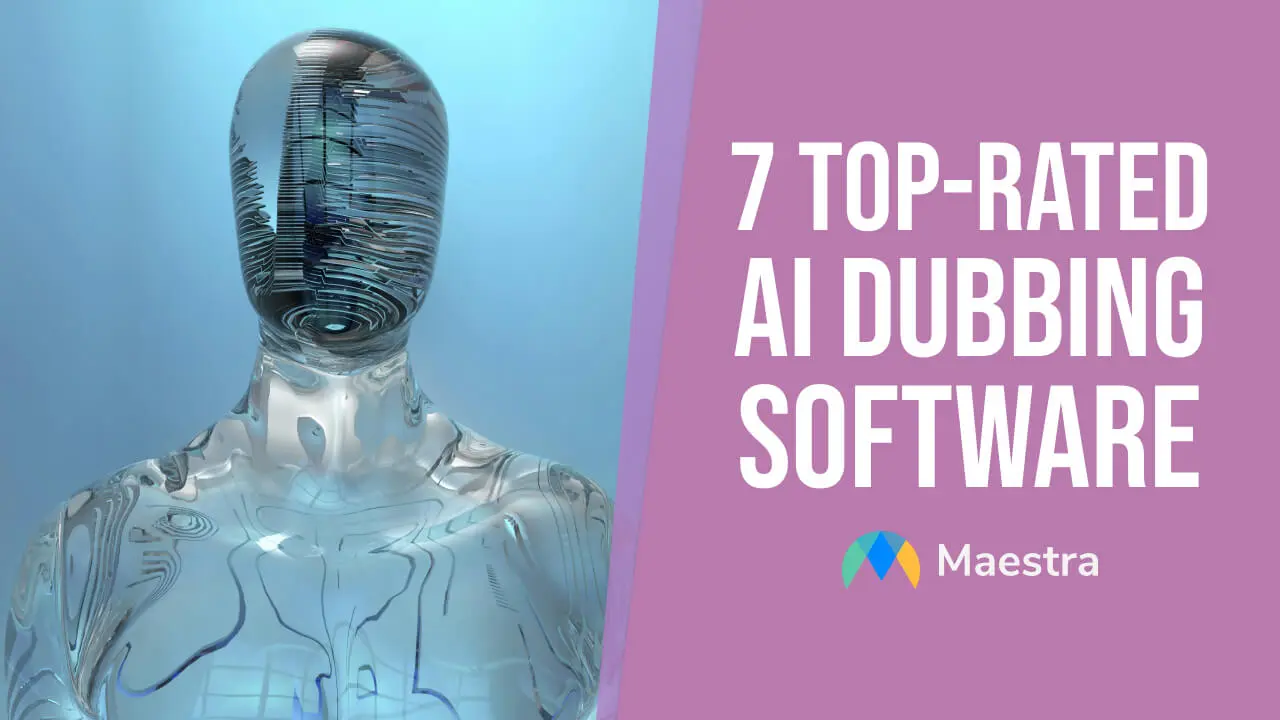
7 Top-Rated AI Dubbing Software
Key Takeaways
The most essential voice over tips emphasize that you need to perfect your breath control, pronunciation, and pacing to make sure you deliver the message you want while keeping your audience engaged.
Recording a voiceover without the help of AI tools requires time, money, and expertise - not only in voice acting but also in editing. On your own, you can write an engaging script, find an appropriate quiet space and affordable microphone, and do a few test recordings in order to end up with a decent voiceover.
But why not take it to the next level? With Maestra, you can generate professional quality voiceovers within seconds. Plus, you won’t need any technical skills or time to edit the voice over recording. Maestra will remove the background noise, adjust the pacing, and allow you to edit the voiceover by just editing the transcript.
Even if you only speak one language, your voiceovers don’t have to.
Frequently Asked Questions
How much is a 30 second voice over?
The cost of a 30-second voiceover depends on multiple factors. If you are planning to hire a voice actor, the cost of the voiceover will vary depending on the experience level of the professional you hire.
Since platforms that offer AI voiceovers usually have subscription plans, the cost of a 30-second long voiceover depends on the subscription plan you choose. However, with Maestra, you can generate realistic AI voiceovers free of charge. You can start your free trial without a subscription or any credit card information.
How do I get a perfect voice?
To make sure your voice is perfect for voiceovers, you need to perfect your vocal skills. Make sure to do warm-up exercises and practice tongue twisters.
The equipment you use plays a huge role in the quality of your recordings; therefore, choosing the right equipment is also important. You will need a good microphone setup and soundproofing. Plus, you can use a pop filter for cleaner recordings.
Practicing breathing will also help you improve your voice by relaxing your vocal cords. Don’t forget to work on your delivery by recording yourself and analyzing your performance.
How to put AI voice in video?
Adding AI voiceovers to your videos has never been this easy. Just upload your video to the video dubber software and choose the source and target languages. Then select the AI voice you want from Maestra’s vast library. Once the voiceover is generated, you can export the dubbed video in the format you desire.