Uploading a File to Transcribe
-
Getting Started
- Account Creation
-
Uploading Files to Cloud
- Upload to Subtitle
- Upload to Transcribe
- Upload to Voiceover
-
Advanced Editing
- Subtitle Editor
- Timeline Tool
- Transcription Editor
- Voiceover Editor
-
Translating Videos
- How to Translate Videos with Maestra
-
Maestra's Tools
- Collaborate Through Maestra Teams
- Create and Share a Session
- Custom Dictionary
- Embed Player
- Real Time Voiceover
- Real-Time Extension
- Voice Cloning
- Web Captioner
-
Integrations
- Slack Notifications
- TikTok Ads Manager
- YouTube Subtitling
- Zapier Integration
- Zoom Transcription
-
Your Data
- Privacy & Data
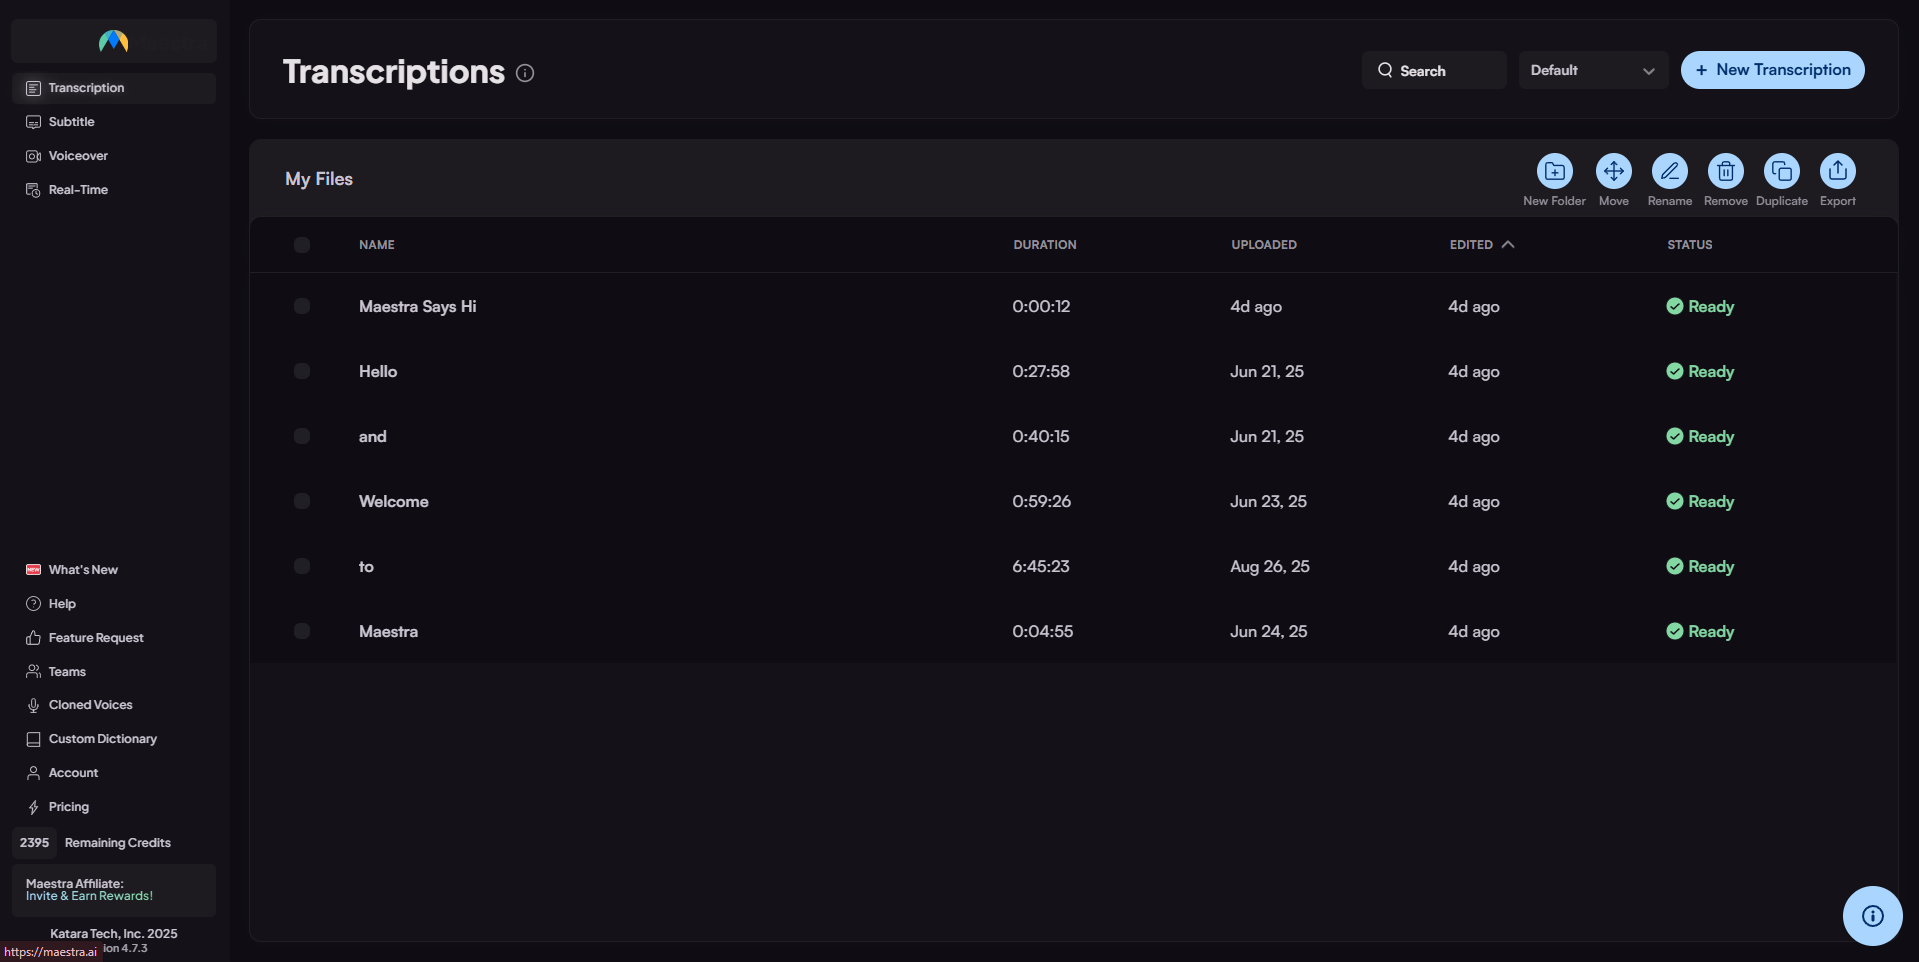
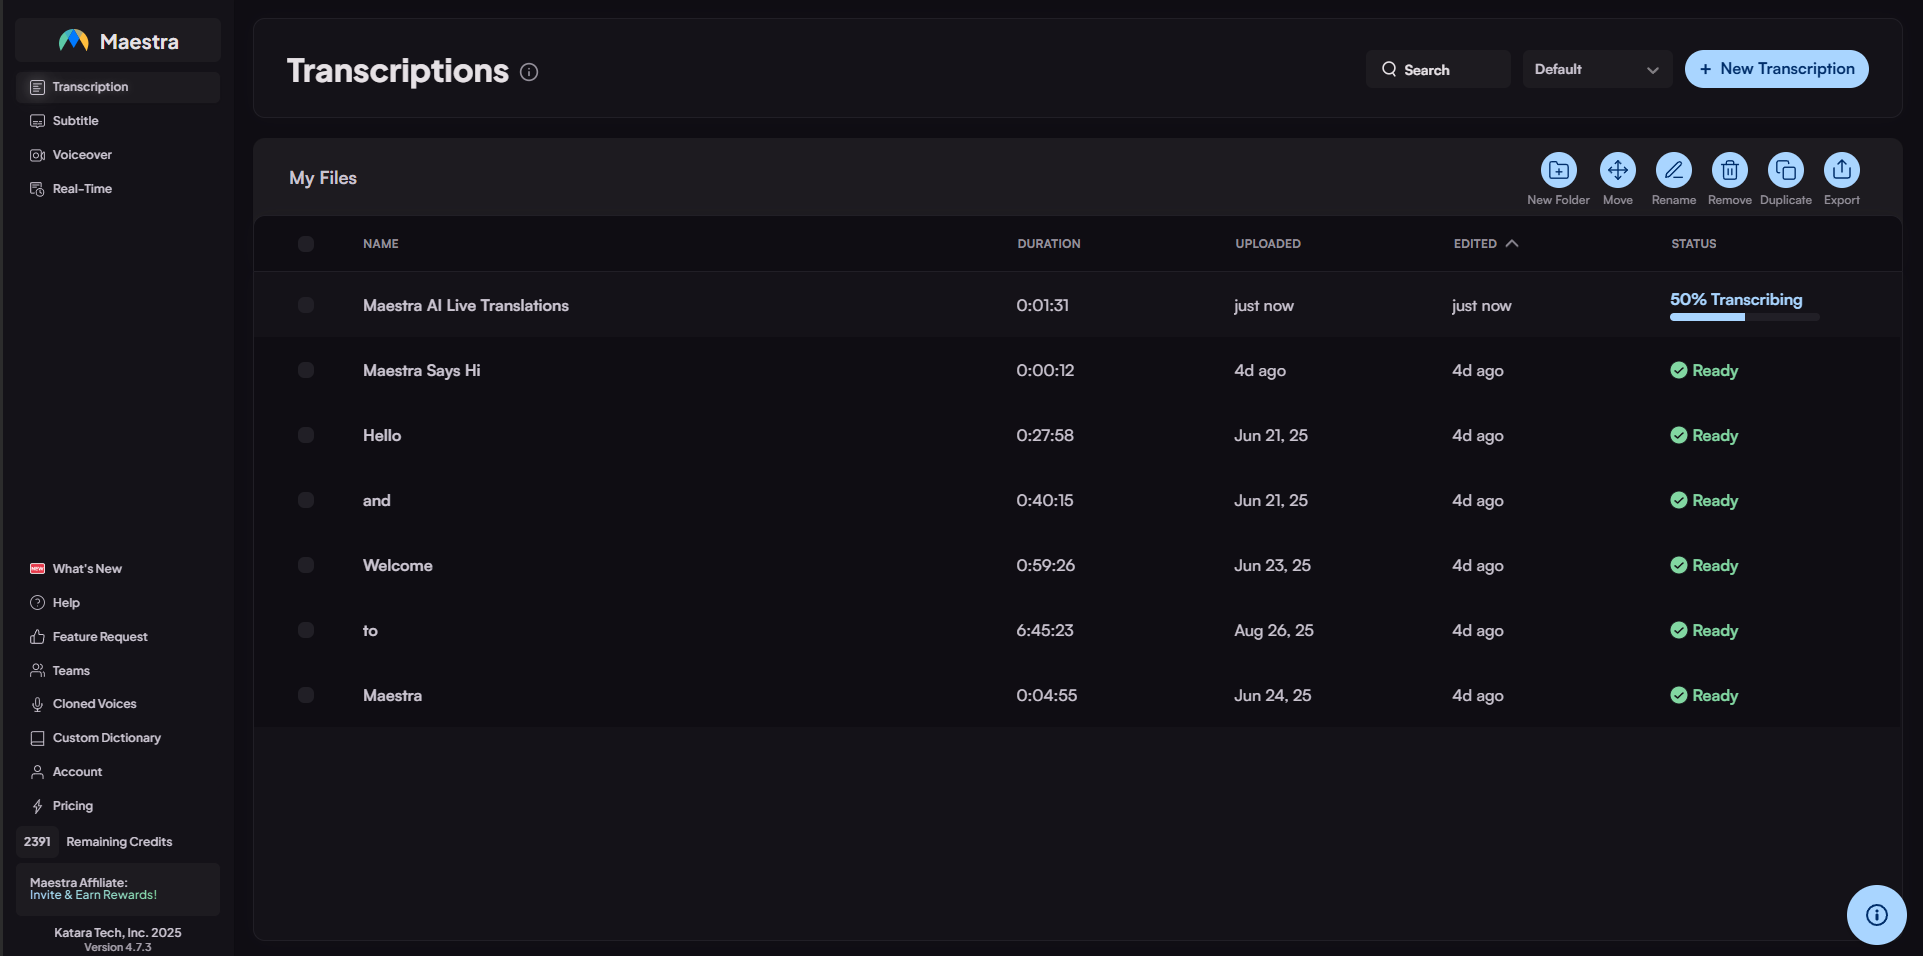
After logging in, you’ll land on your dashboard.
- To view your existing transcription files, click “Transcription” in the upper-left corner.
- To start a new transcription, click “New Transcription” in the upper-right corner and upload your file.
When the upload window appears, you’ll see several options for adding your file to Maestra’s cloud. You can upload directly from Instagram, Dropbox, or Google Drive, paste a link, or select a file from your device. You can also drag and drop a file into the window to begin uploading.
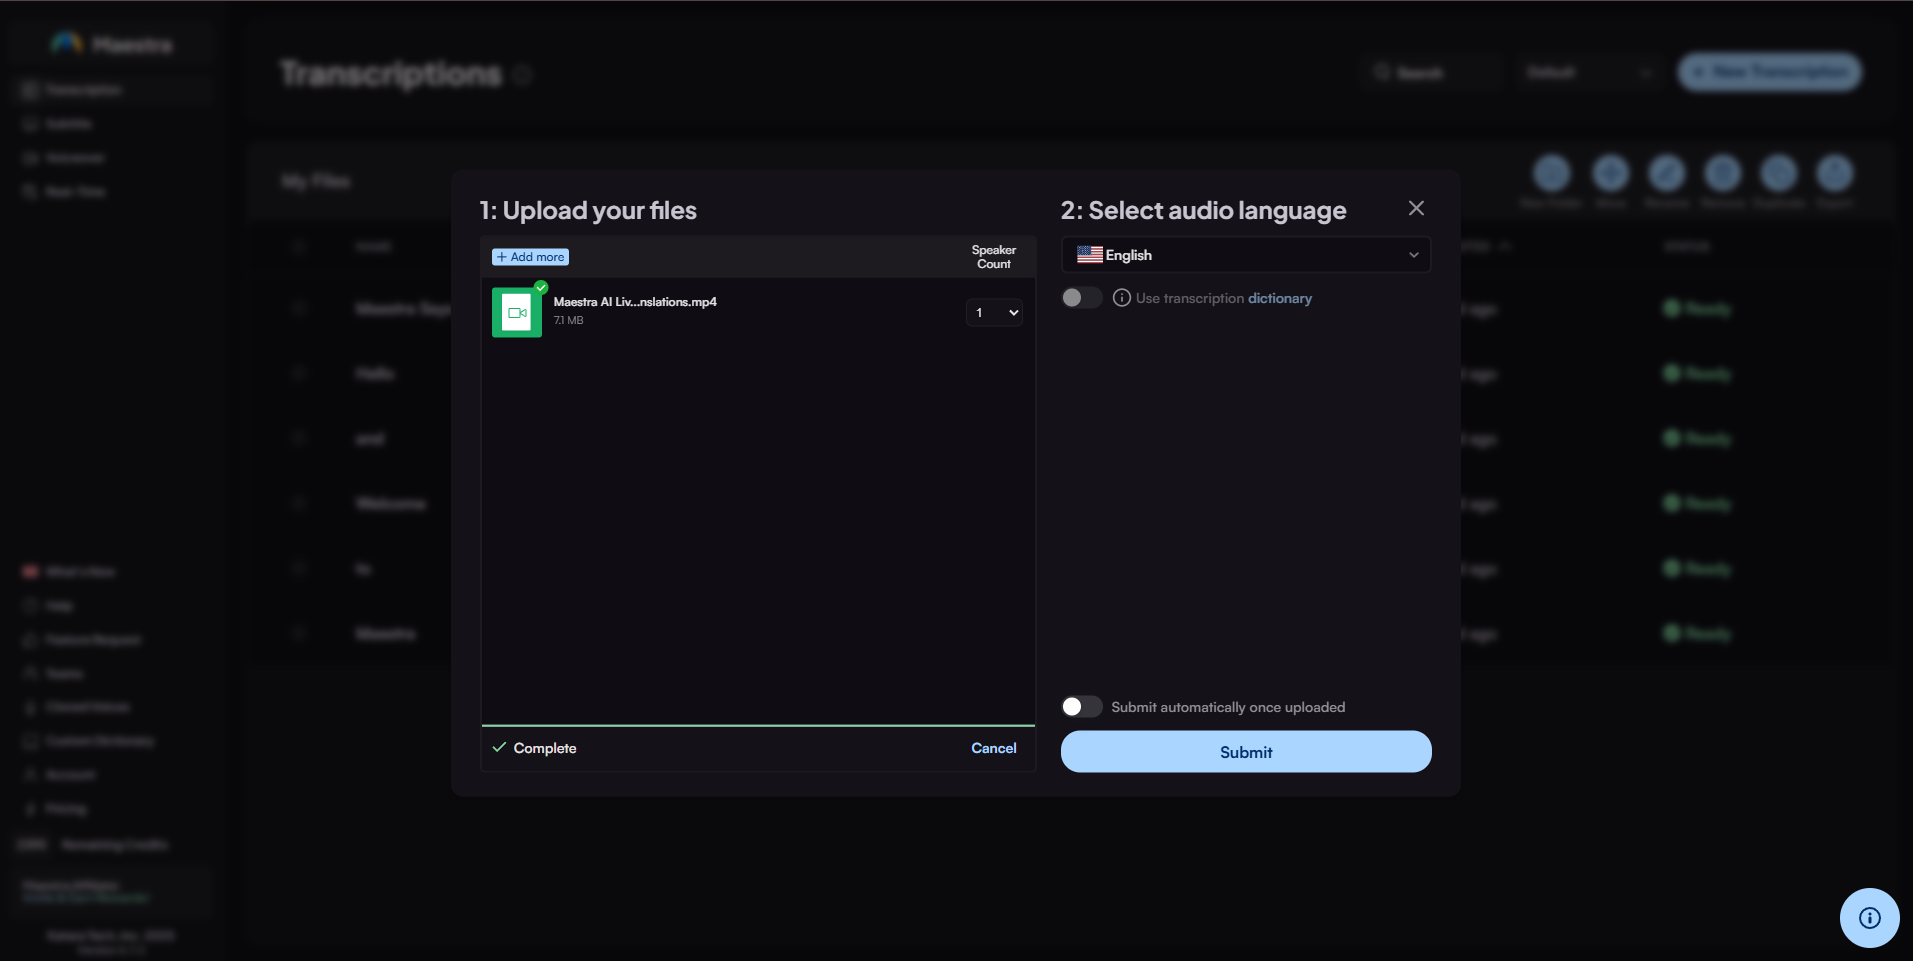
Next, select the original language of your file.
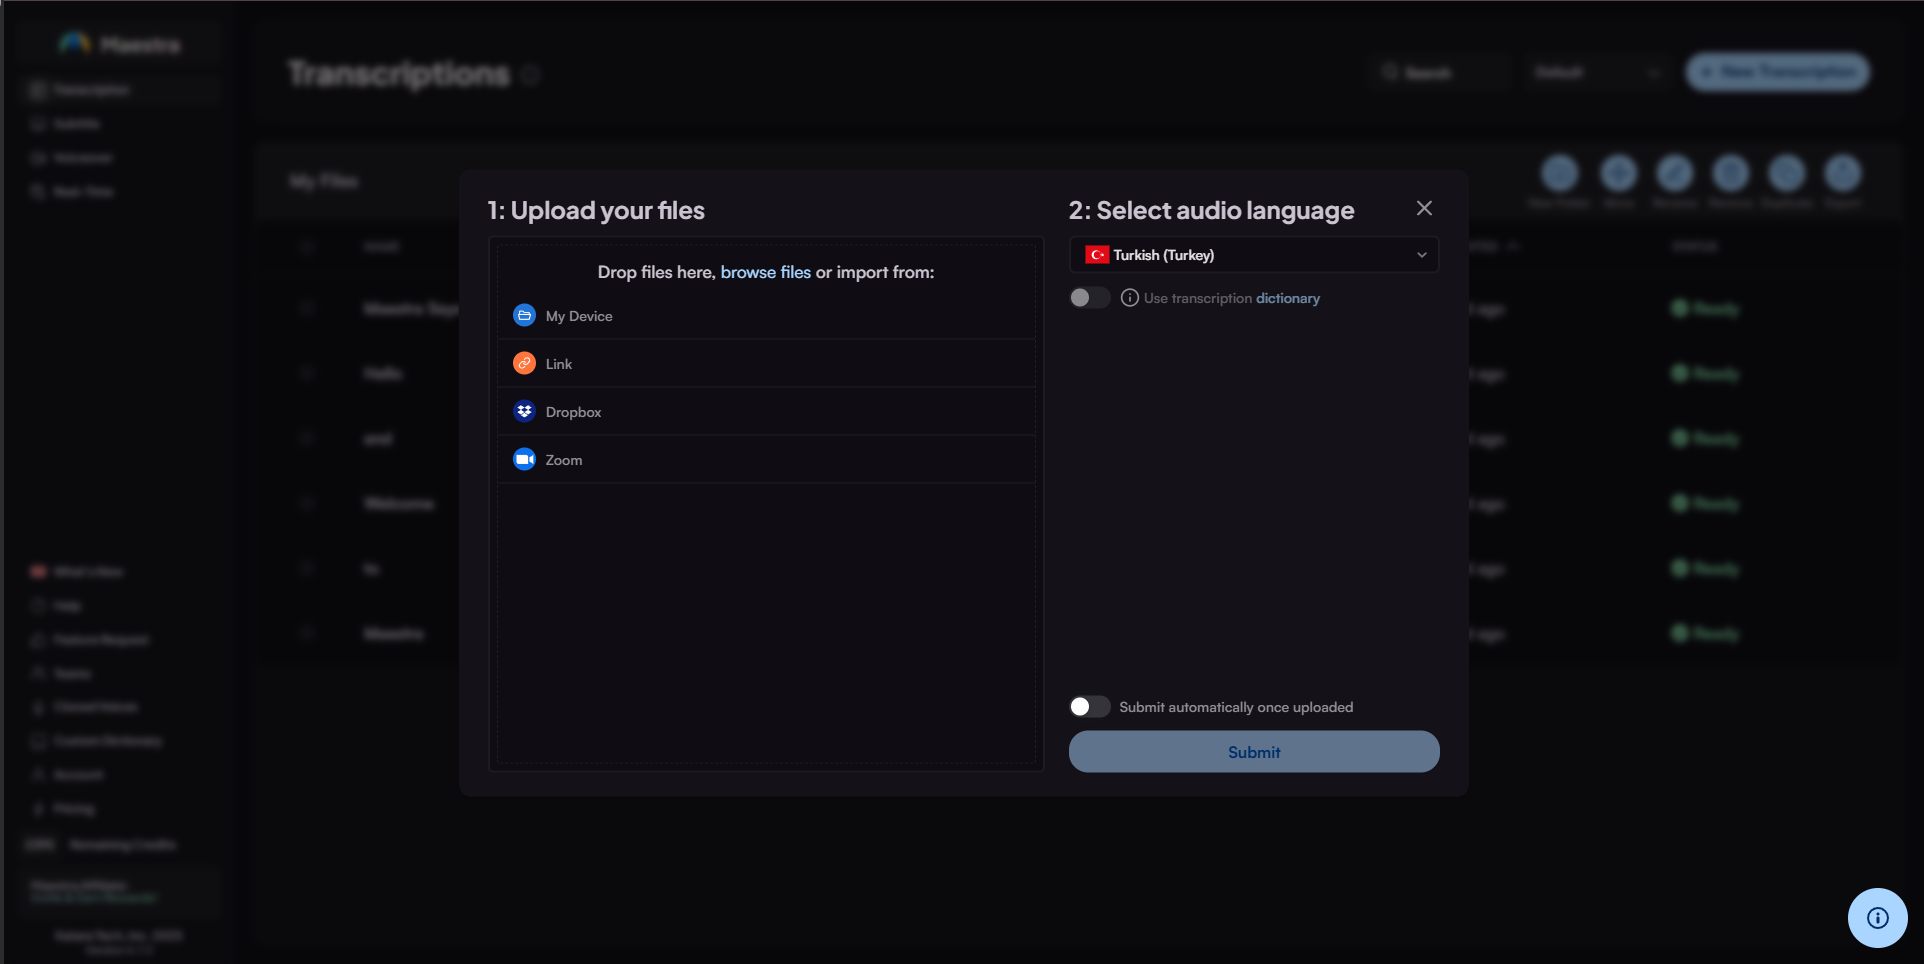
The upload will begin, users can choose "Submit automatically once uploaded" or click submit when the upload is finished. You can also select the number of speakers in the file to command the software to detect different speakers.
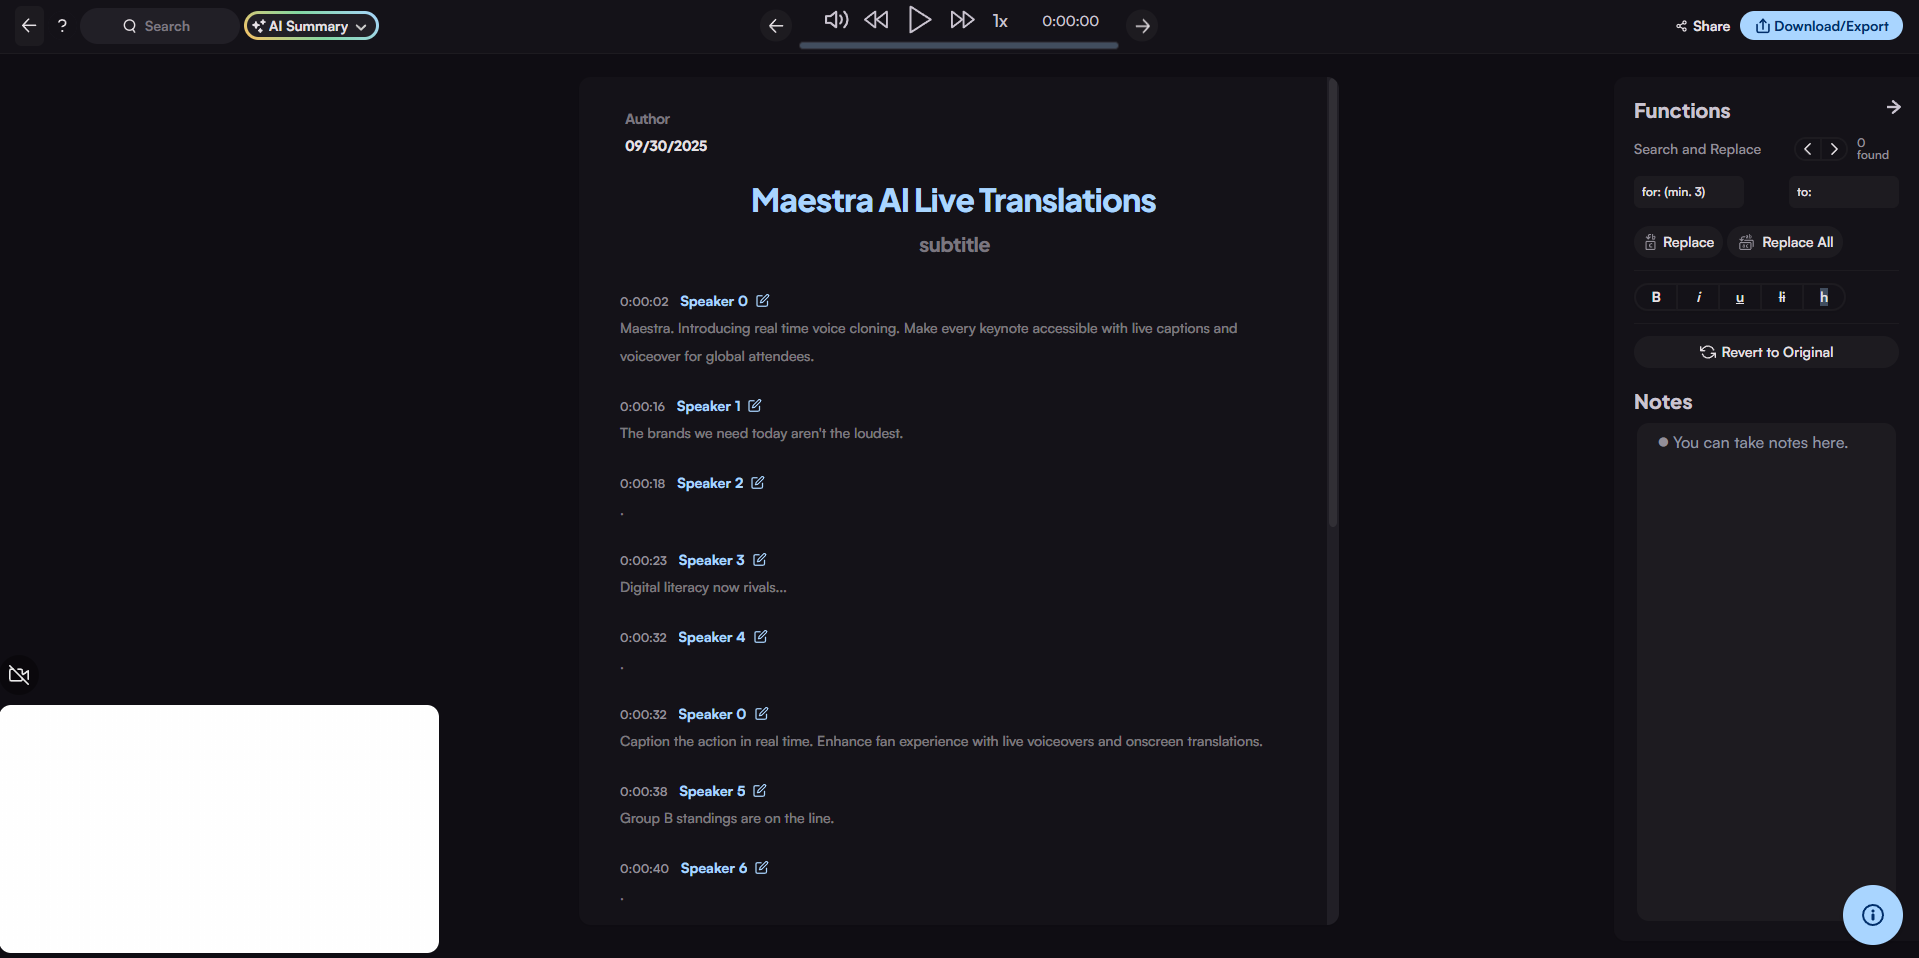
Once your file is uploaded, transcription starts automatically. The process only takes a short time, and when it’s complete, you’ll be able to view and edit your transcript.
Now that you are in the transcript editor, click here if you want to learn more about editing transcriptions with Maestra.