Maestra's Timeline Tool
-
Getting Started
- Account Creation
-
Uploading Files to Cloud
- Upload to Subtitle
- Upload to Transcribe
- Upload to Voiceover
-
Advanced Editing
- Subtitle Editor
- Timeline Tool
- Transcription Editor
- Voiceover Editor
-
Translating Videos
- How to Translate Videos with Maestra
-
Maestra's Tools
- Collaborate Through Maestra Teams
- Create and Share a Session
- Custom Dictionary
- Embed Player
- Real Time Voiceover
- Real-Time Extension
- Voice Cloning
- Web Captioner
-
Integrations
- Slack Notifications
- TikTok Ads Manager
- YouTube Subtitling
- Zapier Integration
- Zoom Transcription
-
Your Data
- Privacy & Data
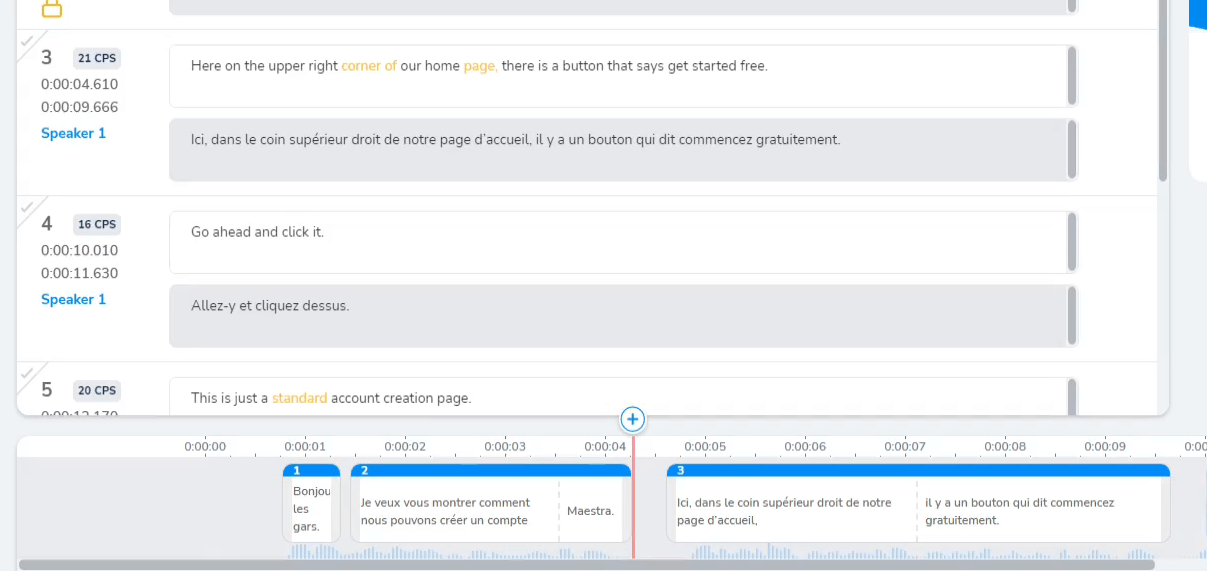
The timeline tool is another way to edit the subtitles and their timecodes. It is located on the lower section of the screen. To start editing the subtitles, users can click the small "Edit" button located above each of the subtitles in the timeline.
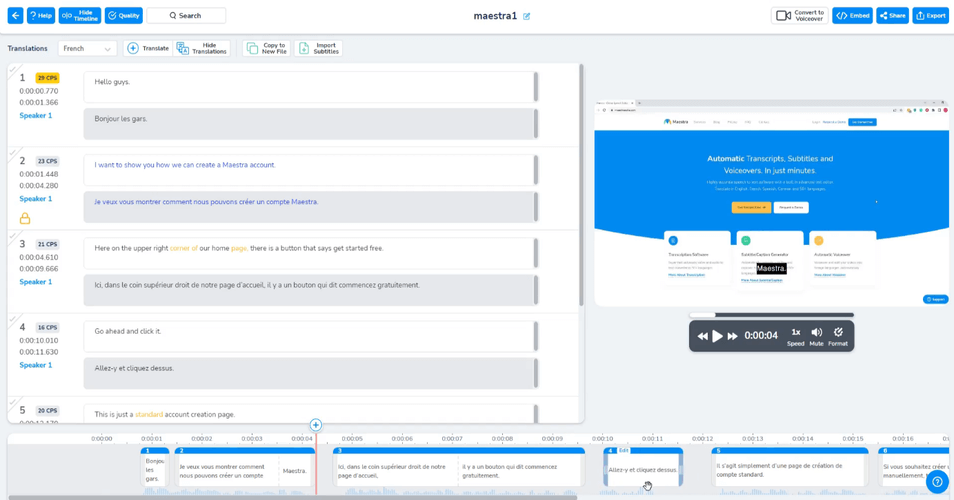
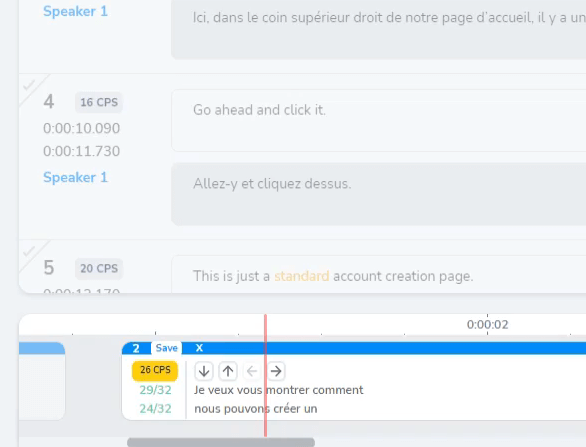
In this section, you’ll find several options for editing subtitles. The tool displays the CPS (characters per second) and uses colors to indicate readability. If a subtitle turns red, it means the text is too dense and should be adjusted.
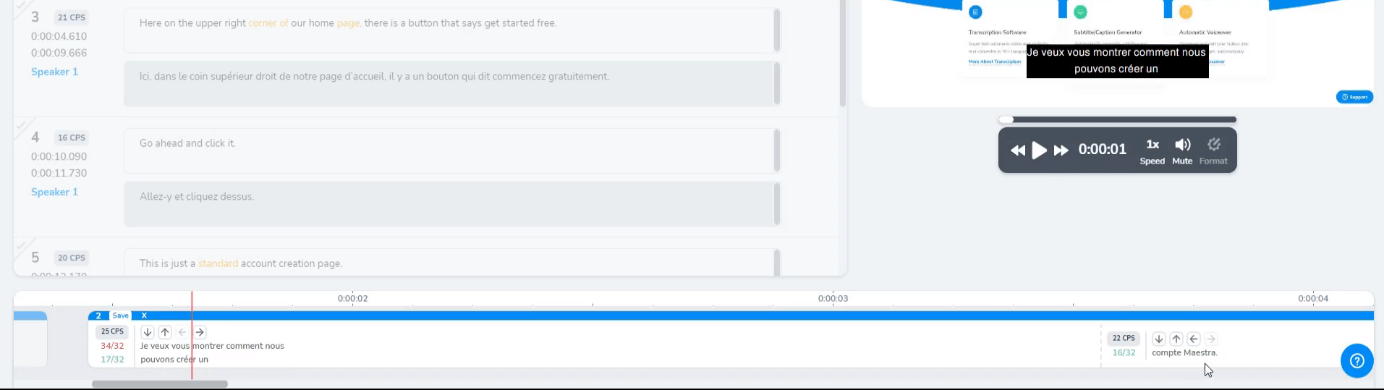
For example:
- Click the right arrow on the left side to move words to the second part of the subtitle.
- Click the up arrow to move a single word to the line above.
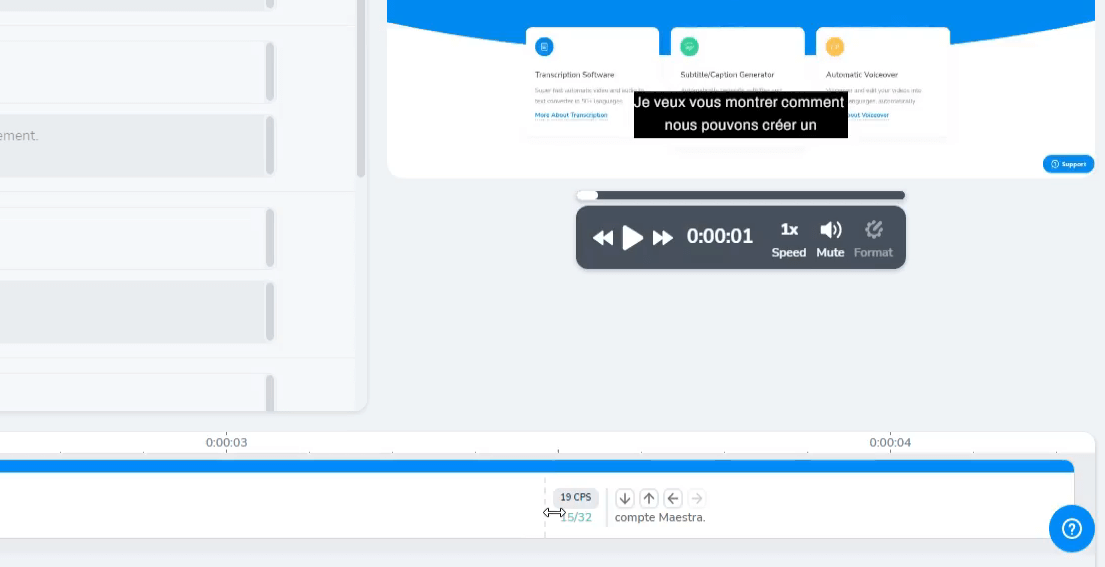
In the example shown, the word “compte” was originally in the first part of the subtitle. By clicking the right arrow, it was moved to the second part for better readability.
Also, you can drag the short lines you see on the image above to change the duration of the second part of the subtitle.
When you are done editing, click the "Save" button to save the changes you have made to the subtitle.
You can also drag each corner of the subtitles to shorten or lengthen their duration. And you can drag a subtitle to put it in a different timecode.

Here, between subtitles, you can see a red line that has a "+" symbol on top of it. If you click this, it would create another subtitle between subtitles 2 and 3.
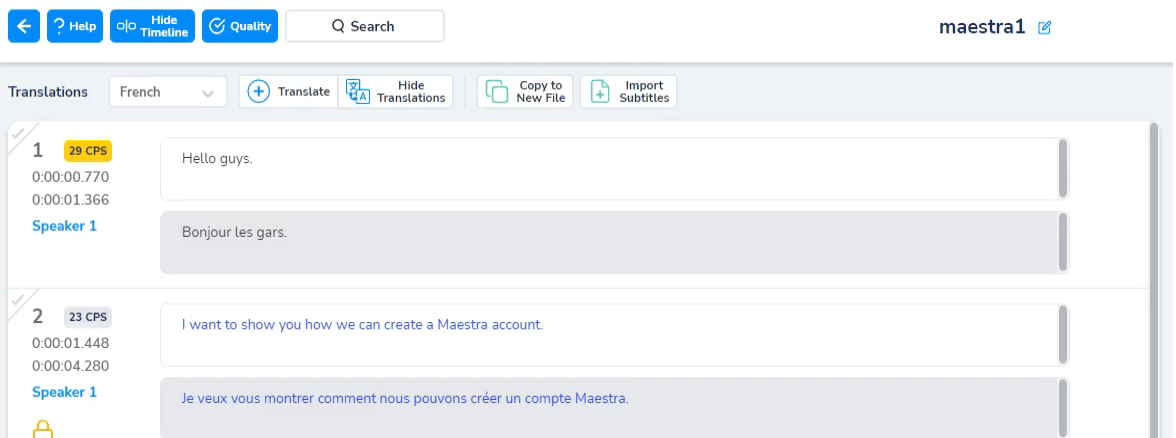
If you do not want to use the timeline, you can click "Hide Timeline" which is located in the top left corner. If you have any more questions, feel free to contact us through the "?" button on the lower right side of the screen, which is our support button.