Uploading a File to Voiceover
-
Getting Started
- Account Creation
-
Uploading Files to Cloud
- Upload to Subtitle
- Upload to Transcribe
- Upload to Voiceover
-
Advanced Editing
- Subtitle Editor
- Timeline Tool
- Transcription Editor
- Voiceover Editor
-
Translating Videos
- How to Translate Videos with Maestra
-
Maestra's Tools
- Collaborate Through Maestra Teams
- Create and Share a Session
- Custom Dictionary
- Embed Player
- Real Time Voiceover
- Real-Time Extension
- Voice Cloning
- Web Captioner
-
Integrations
- Slack Notifications
- TikTok Ads Manager
- YouTube Subtitling
- Zapier Integration
- Zoom Transcription
-
Your Data
- Privacy & Data
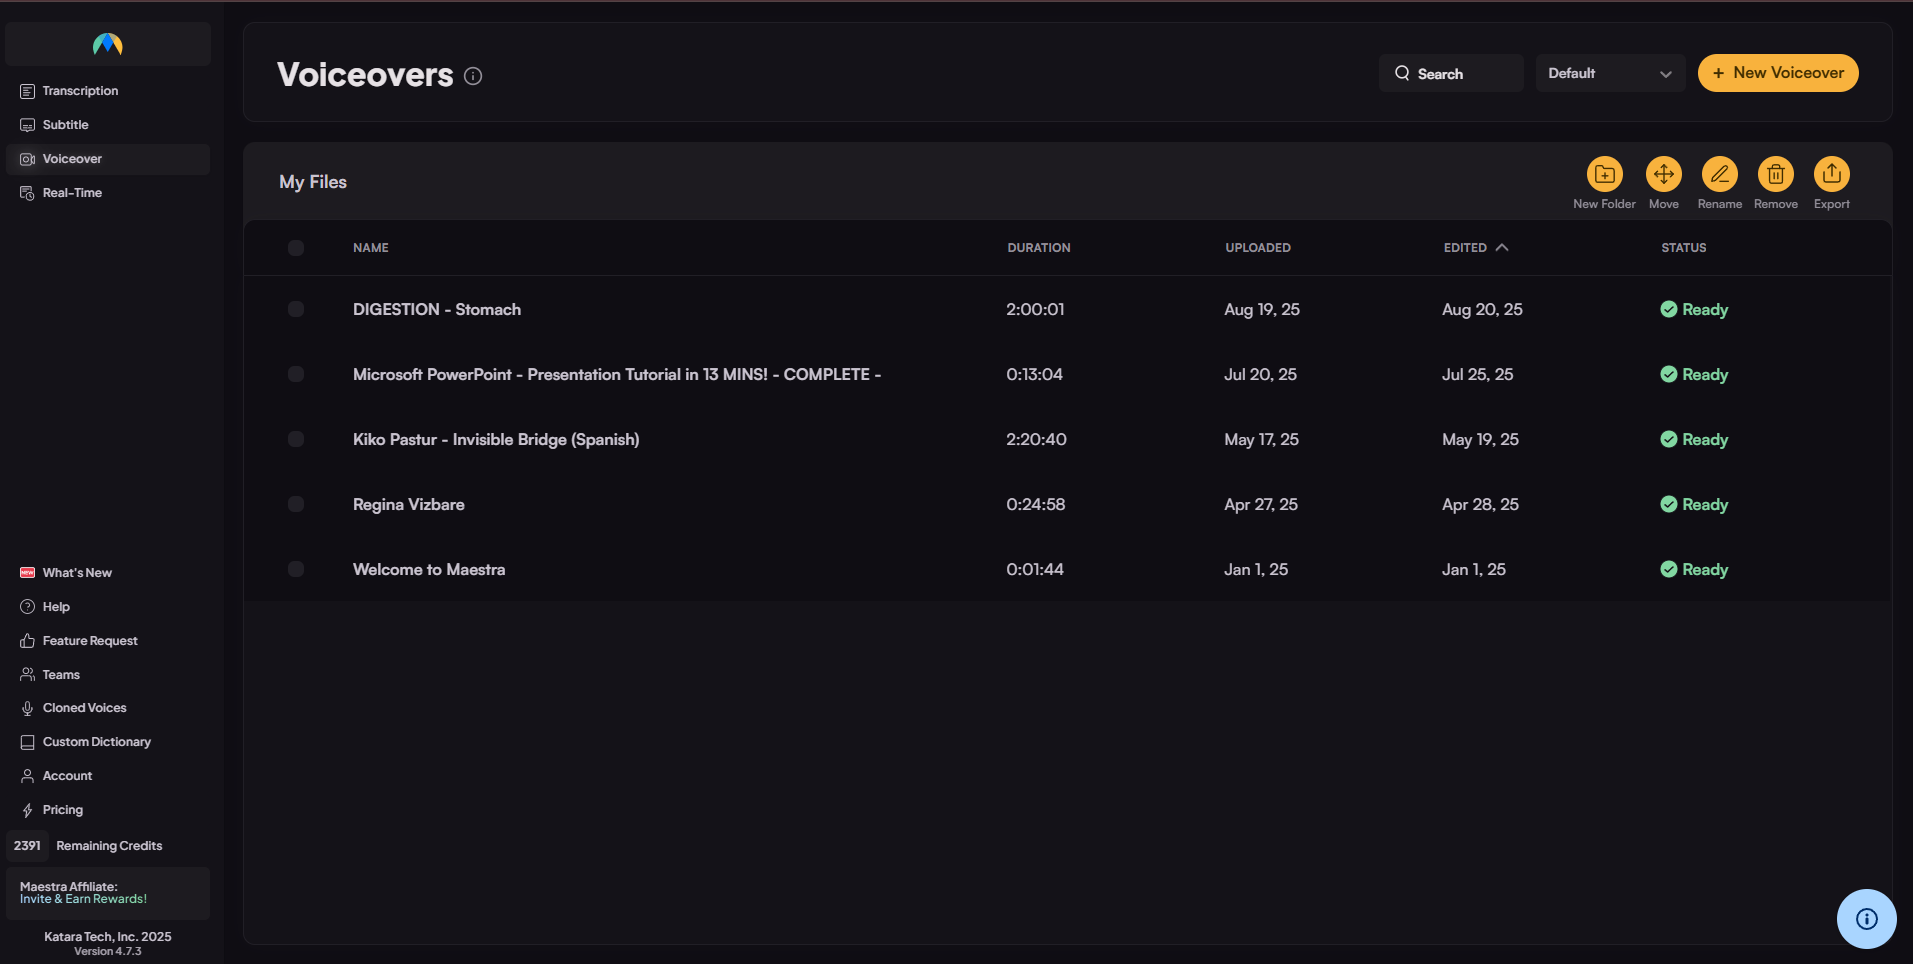
Now that you have created an account, you will be directed to your dashboard. On the upper left corner, select "Voiceover" and click "New Voiceover", located on the upper right corner of your screen.
Then the upload window will pop up, showing you different ways of uploading files to Maestra's cloud. Upload from Instagram, Dropbox, Google Drive, Zoom and more. Alternatively, you can choose a file or drag it from your device to this window to upload.
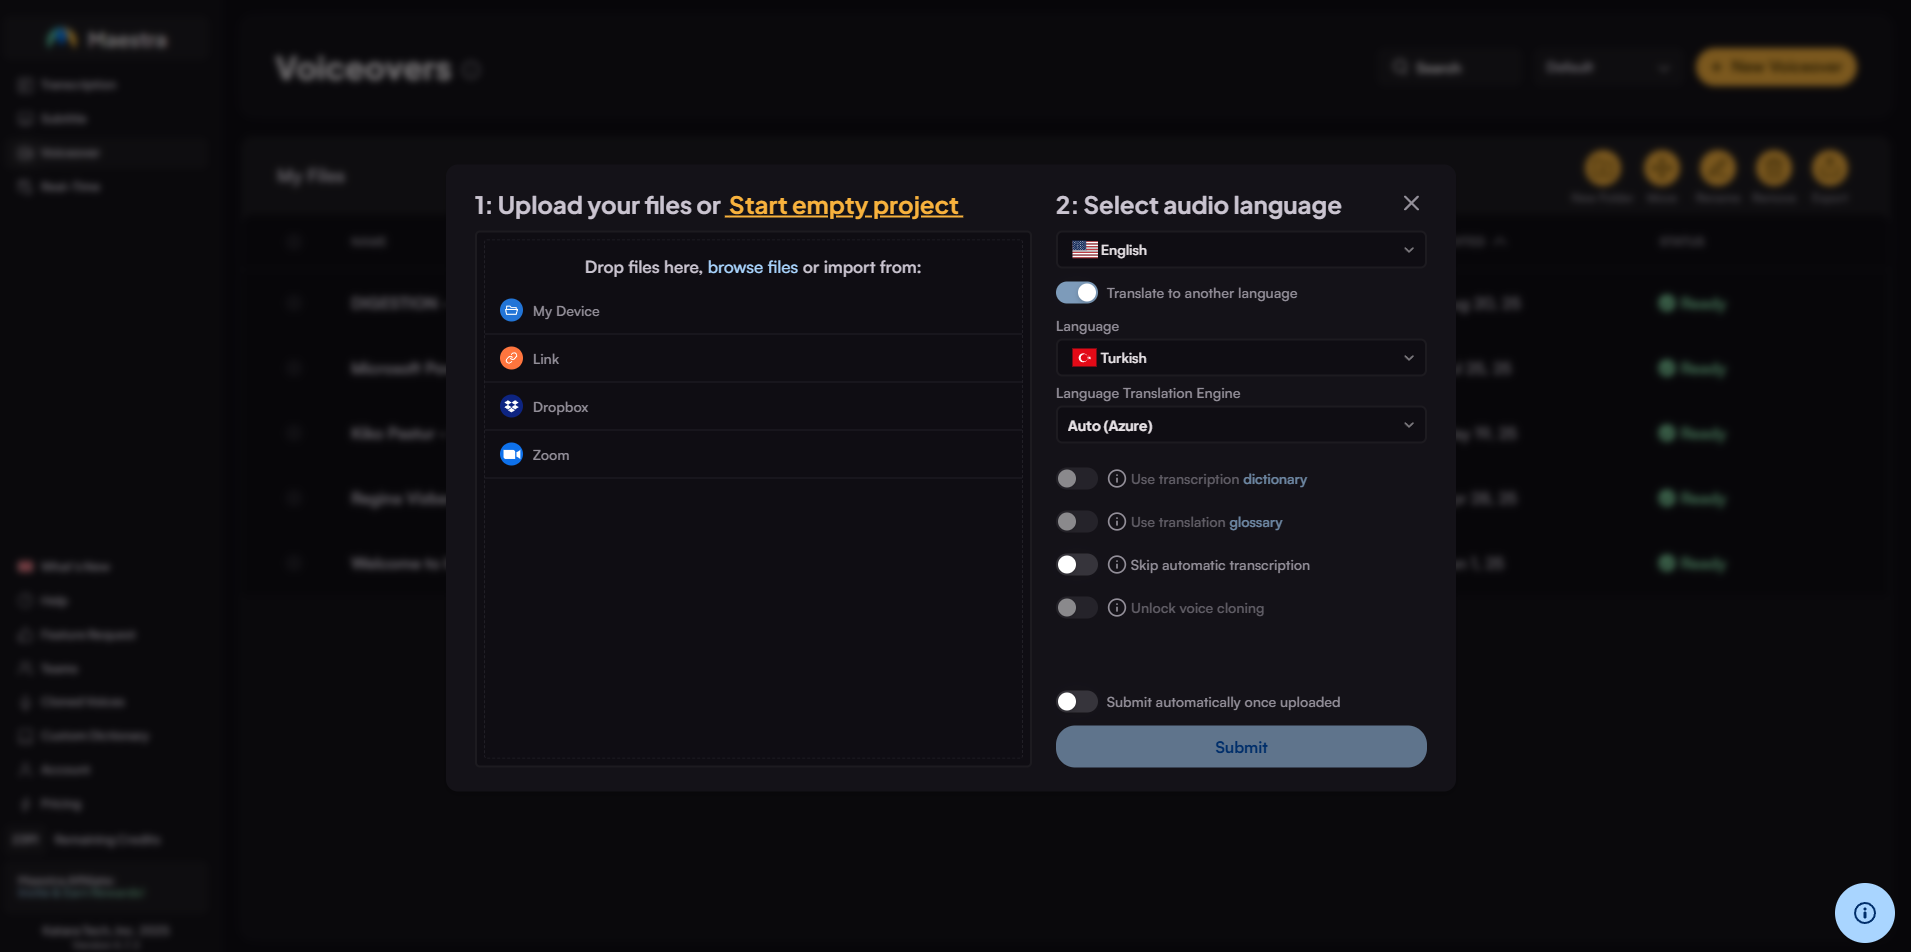
Choose the original language of the video and the language of the voiceover. Also, users can translate the file into other languages after this step.
Toggle "Submit automatically once uploaded" or click "Submit" when the uploading is done.

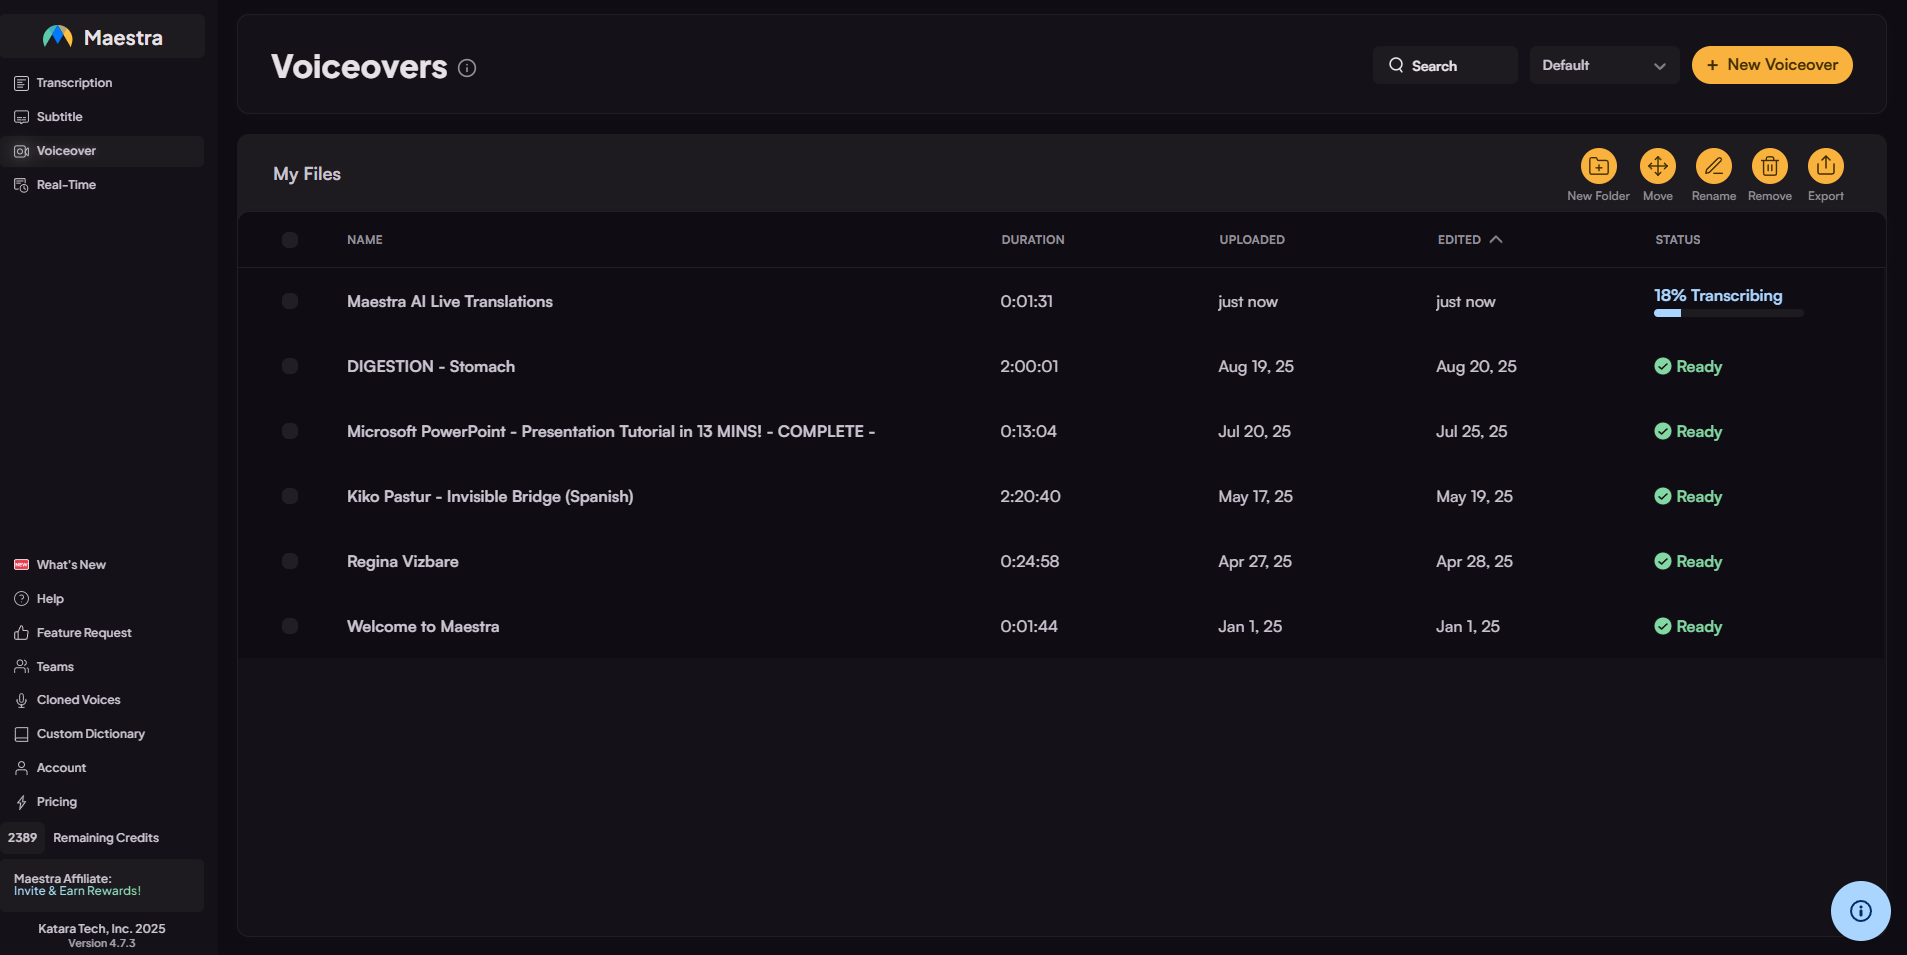
Once the file is uploaded, transcription will begin automatically. It takes around 20% of the file's duration to fully transcribe.
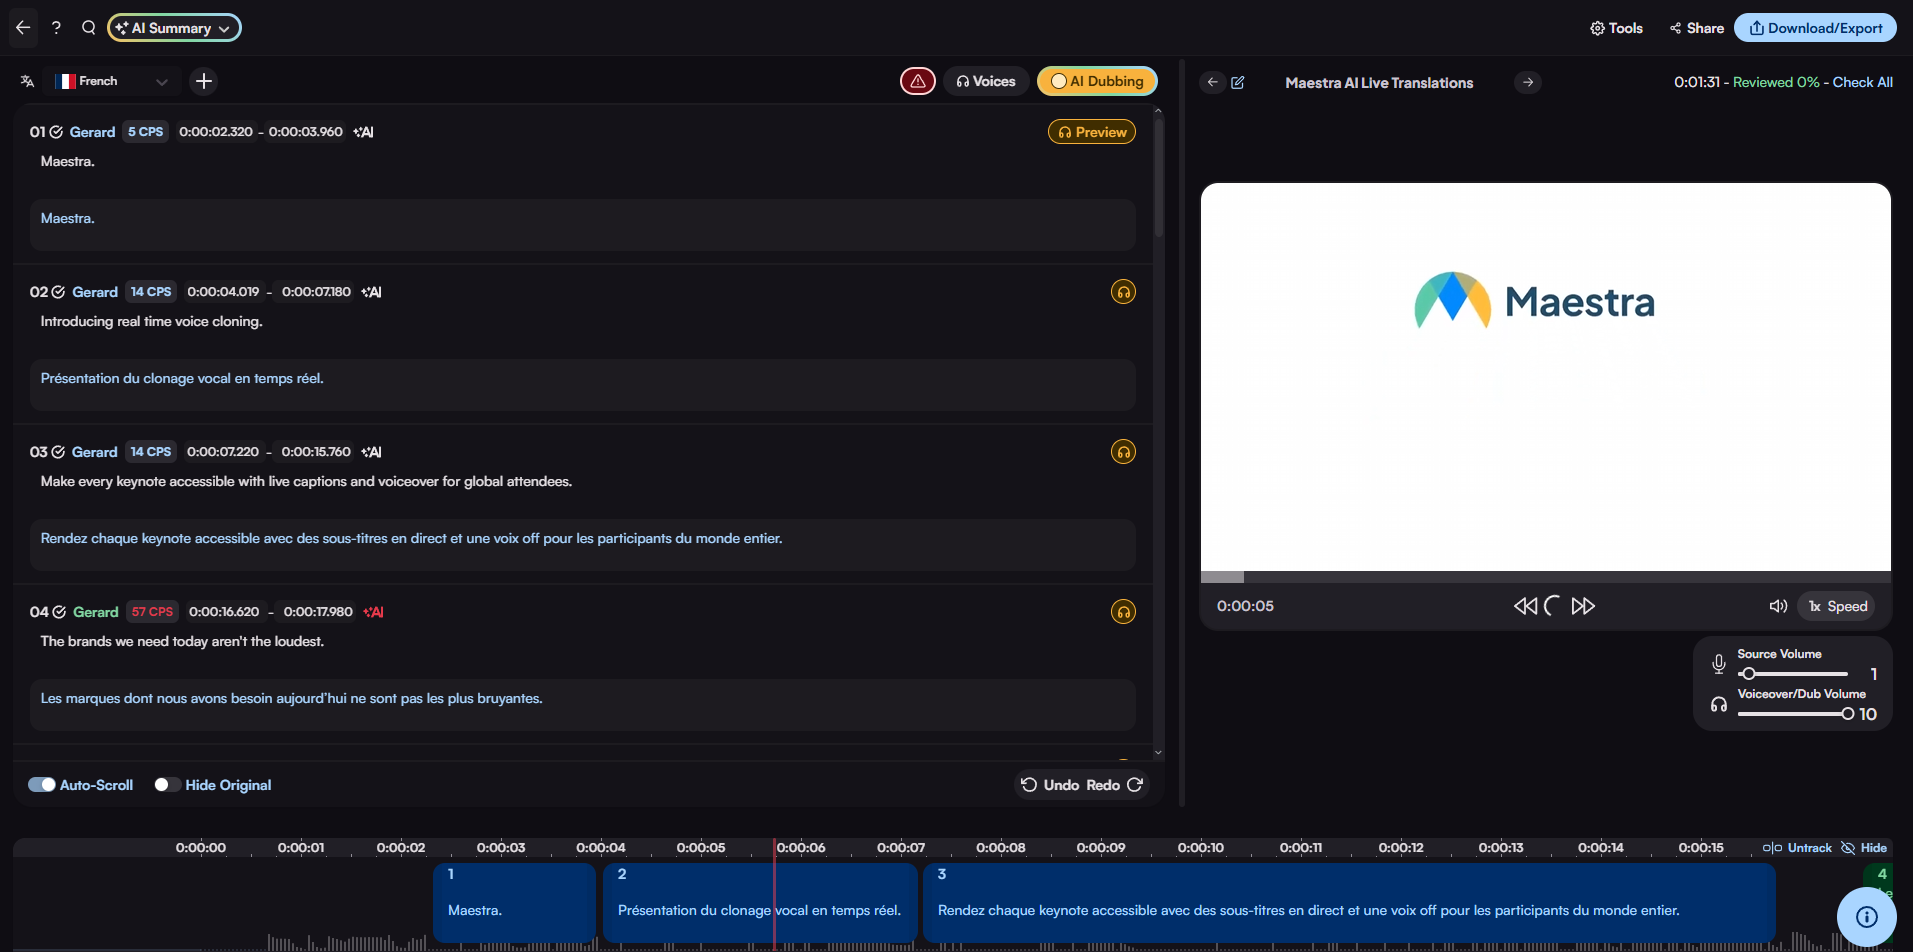
Now that the transcription is done, you can start editing and generating the voiceover!
Click the "Synthesize audio" button to start generating the voiceover!
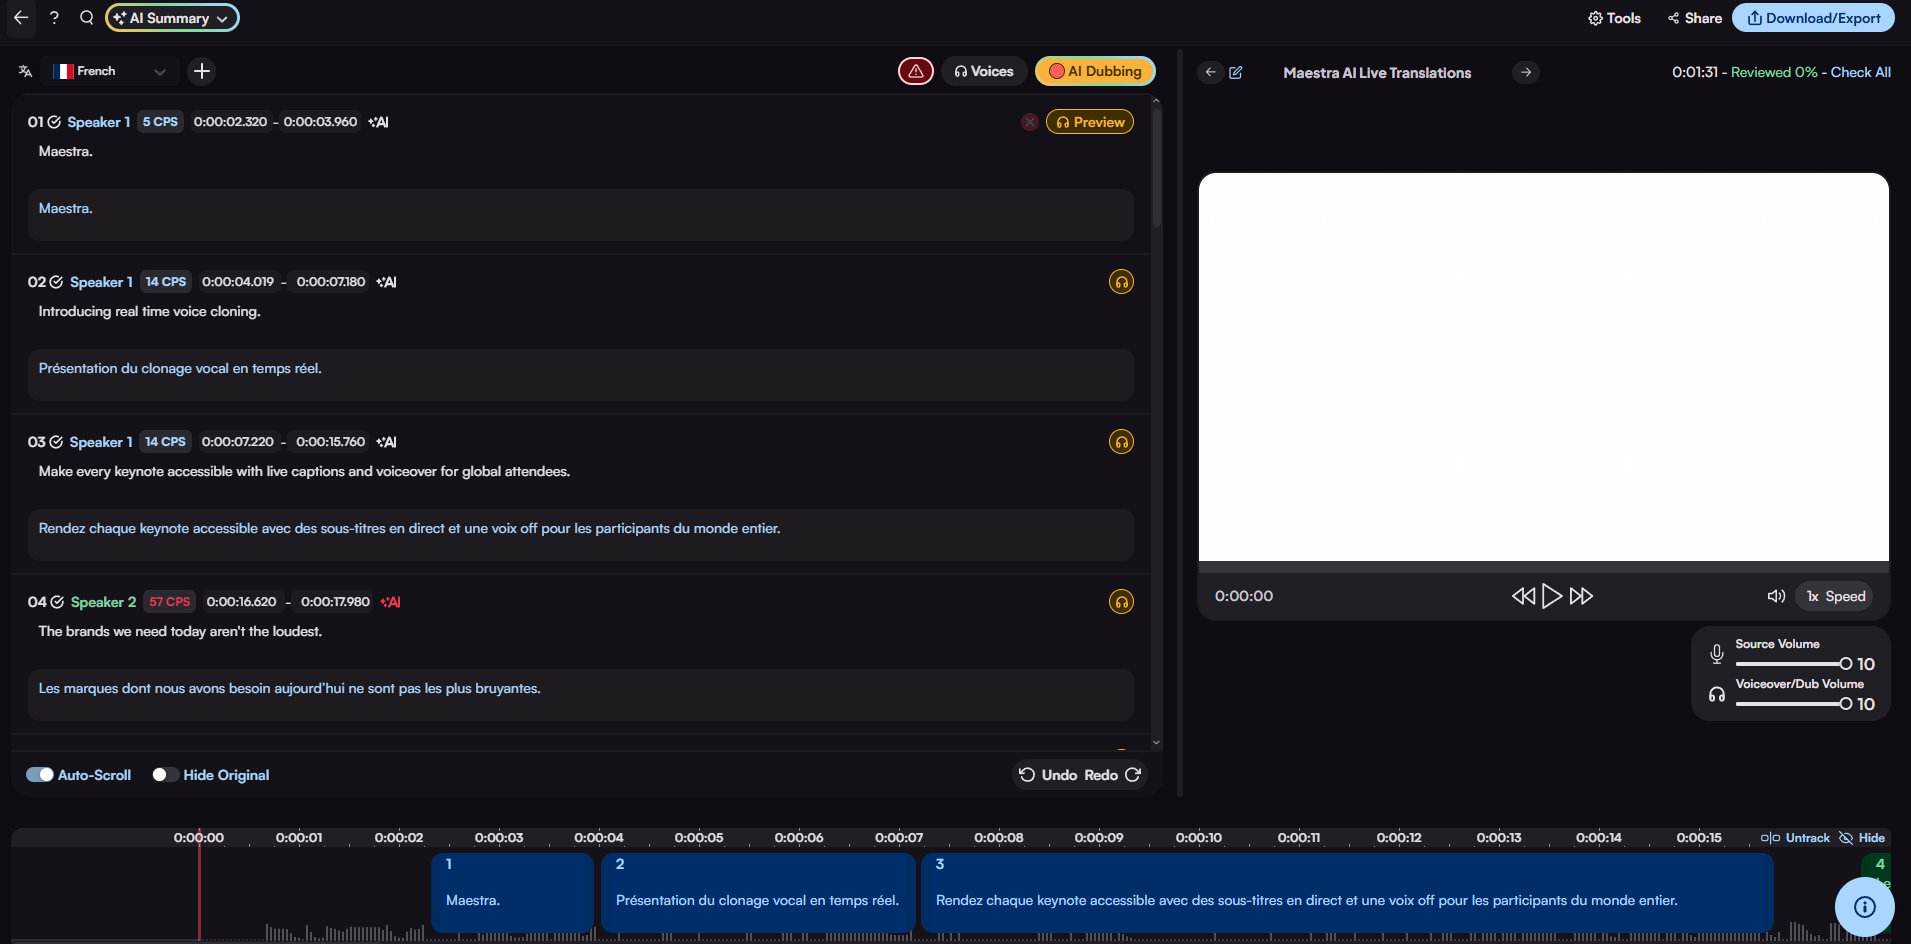
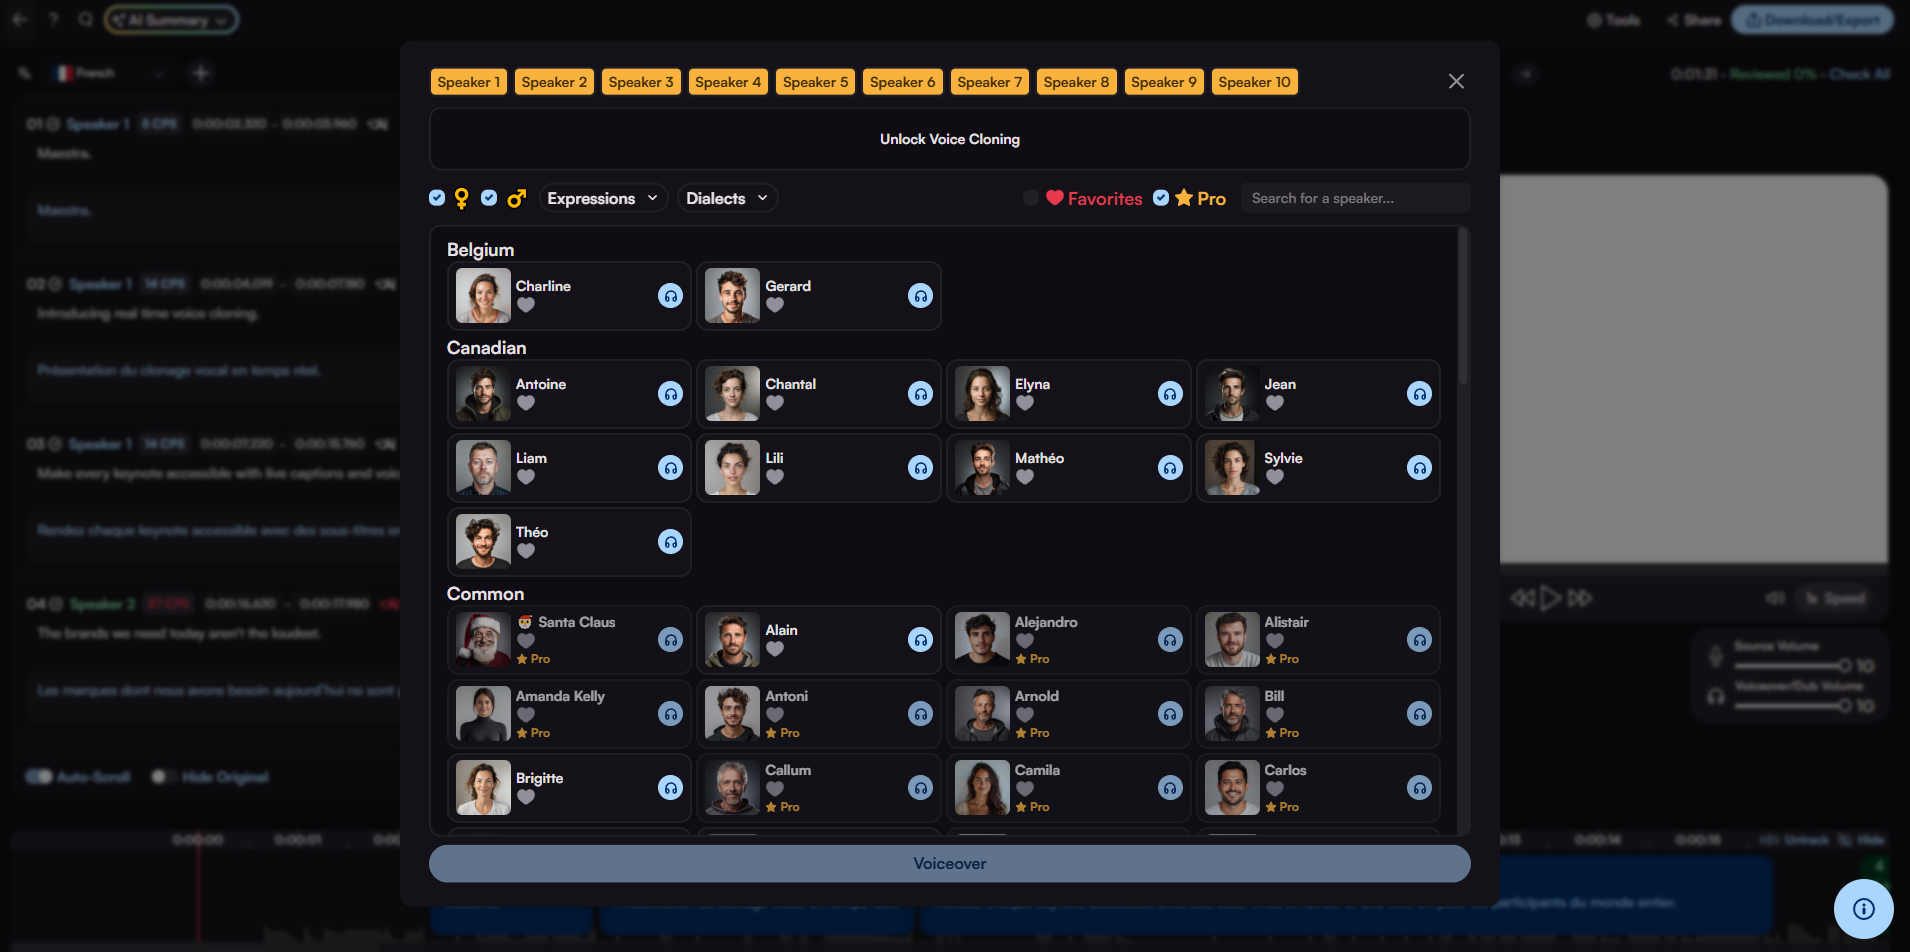
Maestra provides a diverse portfolio of realistic AI voices. When there are multiple speakers in a video, you can assign a different voice to each speaker. Here, we can see a speaker named "Speaker 1", each speaker will be shown adjacent to each other, allowing users to change the voice of each one. Then, click "Synthesize" and "Synthesize audio" to generate the voiceover.
When the symbol is green, you can listen to your automatically generated voiceover! Yellow or red colors in the text indicate that corrections might be needed. After making any adjustment, click the "Synthesize audio" button again to transfer the edits to the voiceover. Click here to learn more about editing voiceovers with Maestra!